


The Clover
这一次的昆达善之旅,我们住在“The Clover”。一个满新的地方,位于在Mesilau满里面的高处的一个地方。还没出发前个晚上就一直下雨,天气报告沙巴会受热带气候风,会有狂风暴雨,满担心路程会很塞很缓慢,因为有老人和小孩。
大概12点多我们就到“August Kitchen”享用我们的午餐,很庆幸到达时雨停了。午餐后计划是去看草泥马(羊驼),才上车又下起毛毛雨,雨下一会儿又停了。到我们住宿的地方前会经过(羊驼)一路上山的路程风很强和很少车,看见(羊驼)的路牌转进去,开开心心的要带孩子去看(羊驼),在购买门票处才知因为气候的问题(风很大),没有开放观光。
只好继续我们的路程,很喜欢The Clover的地理位置,很靠近神山。天气真的很好(很冷),
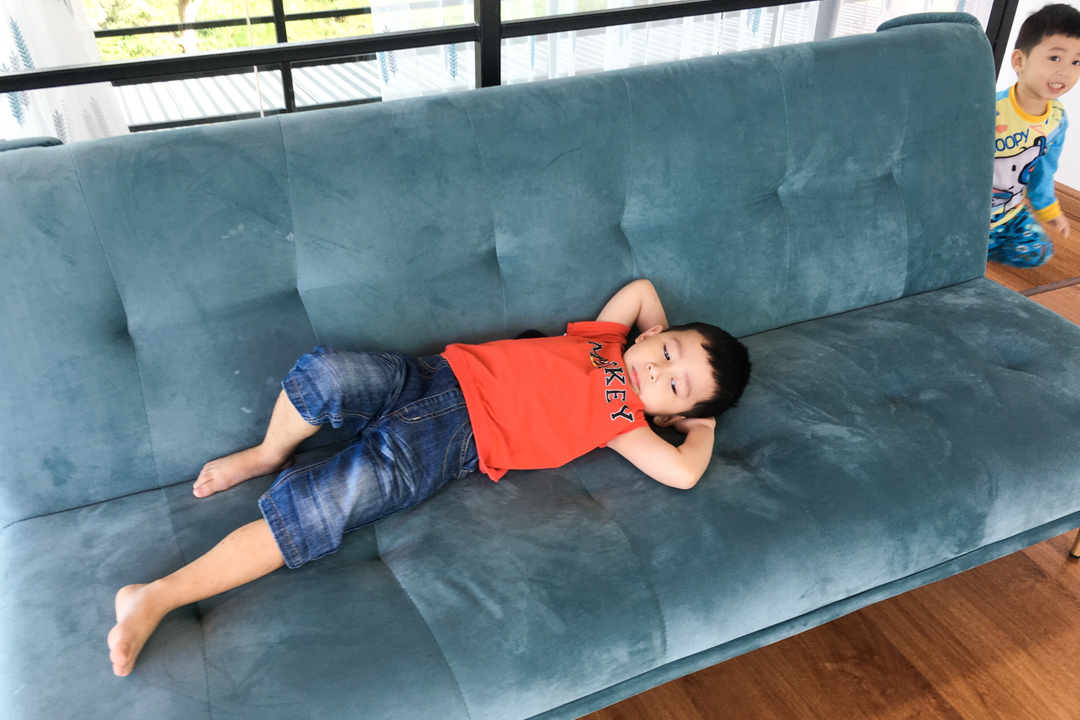
原来这里的住宿是用货柜来建设的,在屋子里看电视和休息。傍晚时,又下起雨,还越下越大,风越来越强,镜子隙缝转来轰轰和颤抖的敲打声。我们故作冷静,准备火锅晚餐,一边晚餐一边享受冷冷的气候。
晚上,雨越下越大,外面的风强到把外面的水都给吹进屋里。整个住宿在晃动,大家都不知该如何,只能静静呆在屋里。哈哈吓到妈妈想要离开这里,离开又怕路程有倒树或土崩。我和我老婆只能安抚老人和小孩。和孩子一起祷告后,大家也各自回到房间休息,我和大儿子在客厅睡。住宿的设计用了很多玻璃,也提醒在房间休息的不能靠/远离玻璃的地方。
大概下到3点多雨才小,才安心的睡觉去。
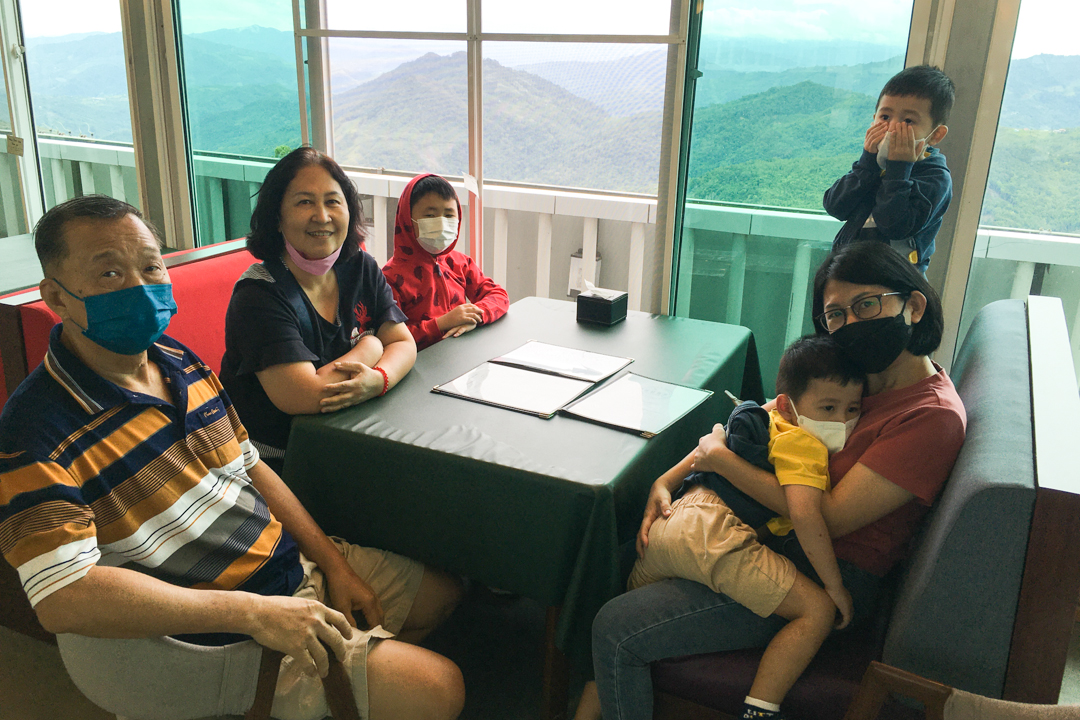
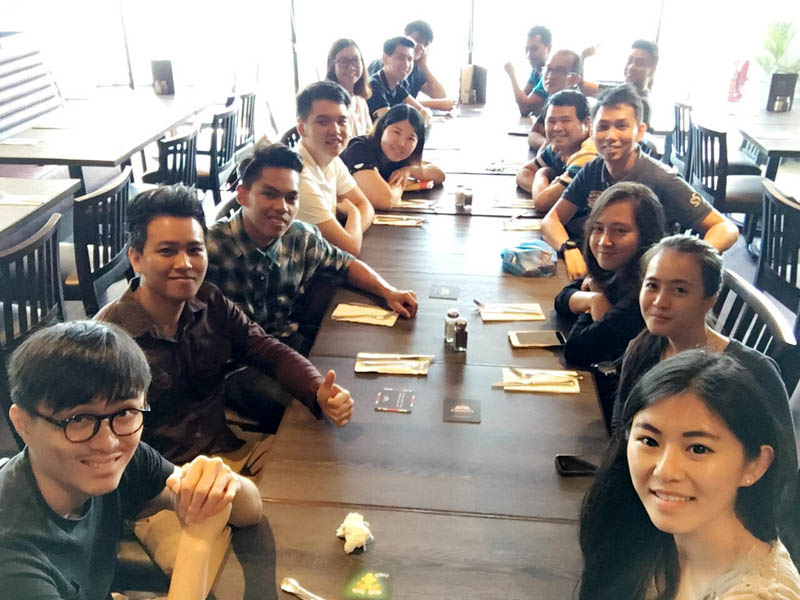
暴风后的一个早晨,超级冷天气超级好,不忘照相留念。


")
")
")