MacBook Pro 17inch – Project

SSD – Topmore TP100 SSD TLC 2.5″ SATA III 480GB – RM11 (Delivery) claim by boost 28100 coin x 1pc
Plan for upgrade my Macbook Pro to get better performance,
and want to update the OSX Snow Leopard to EL Capitan.
Make fun with my MBP .. please don’t get me any problem .. .. please.
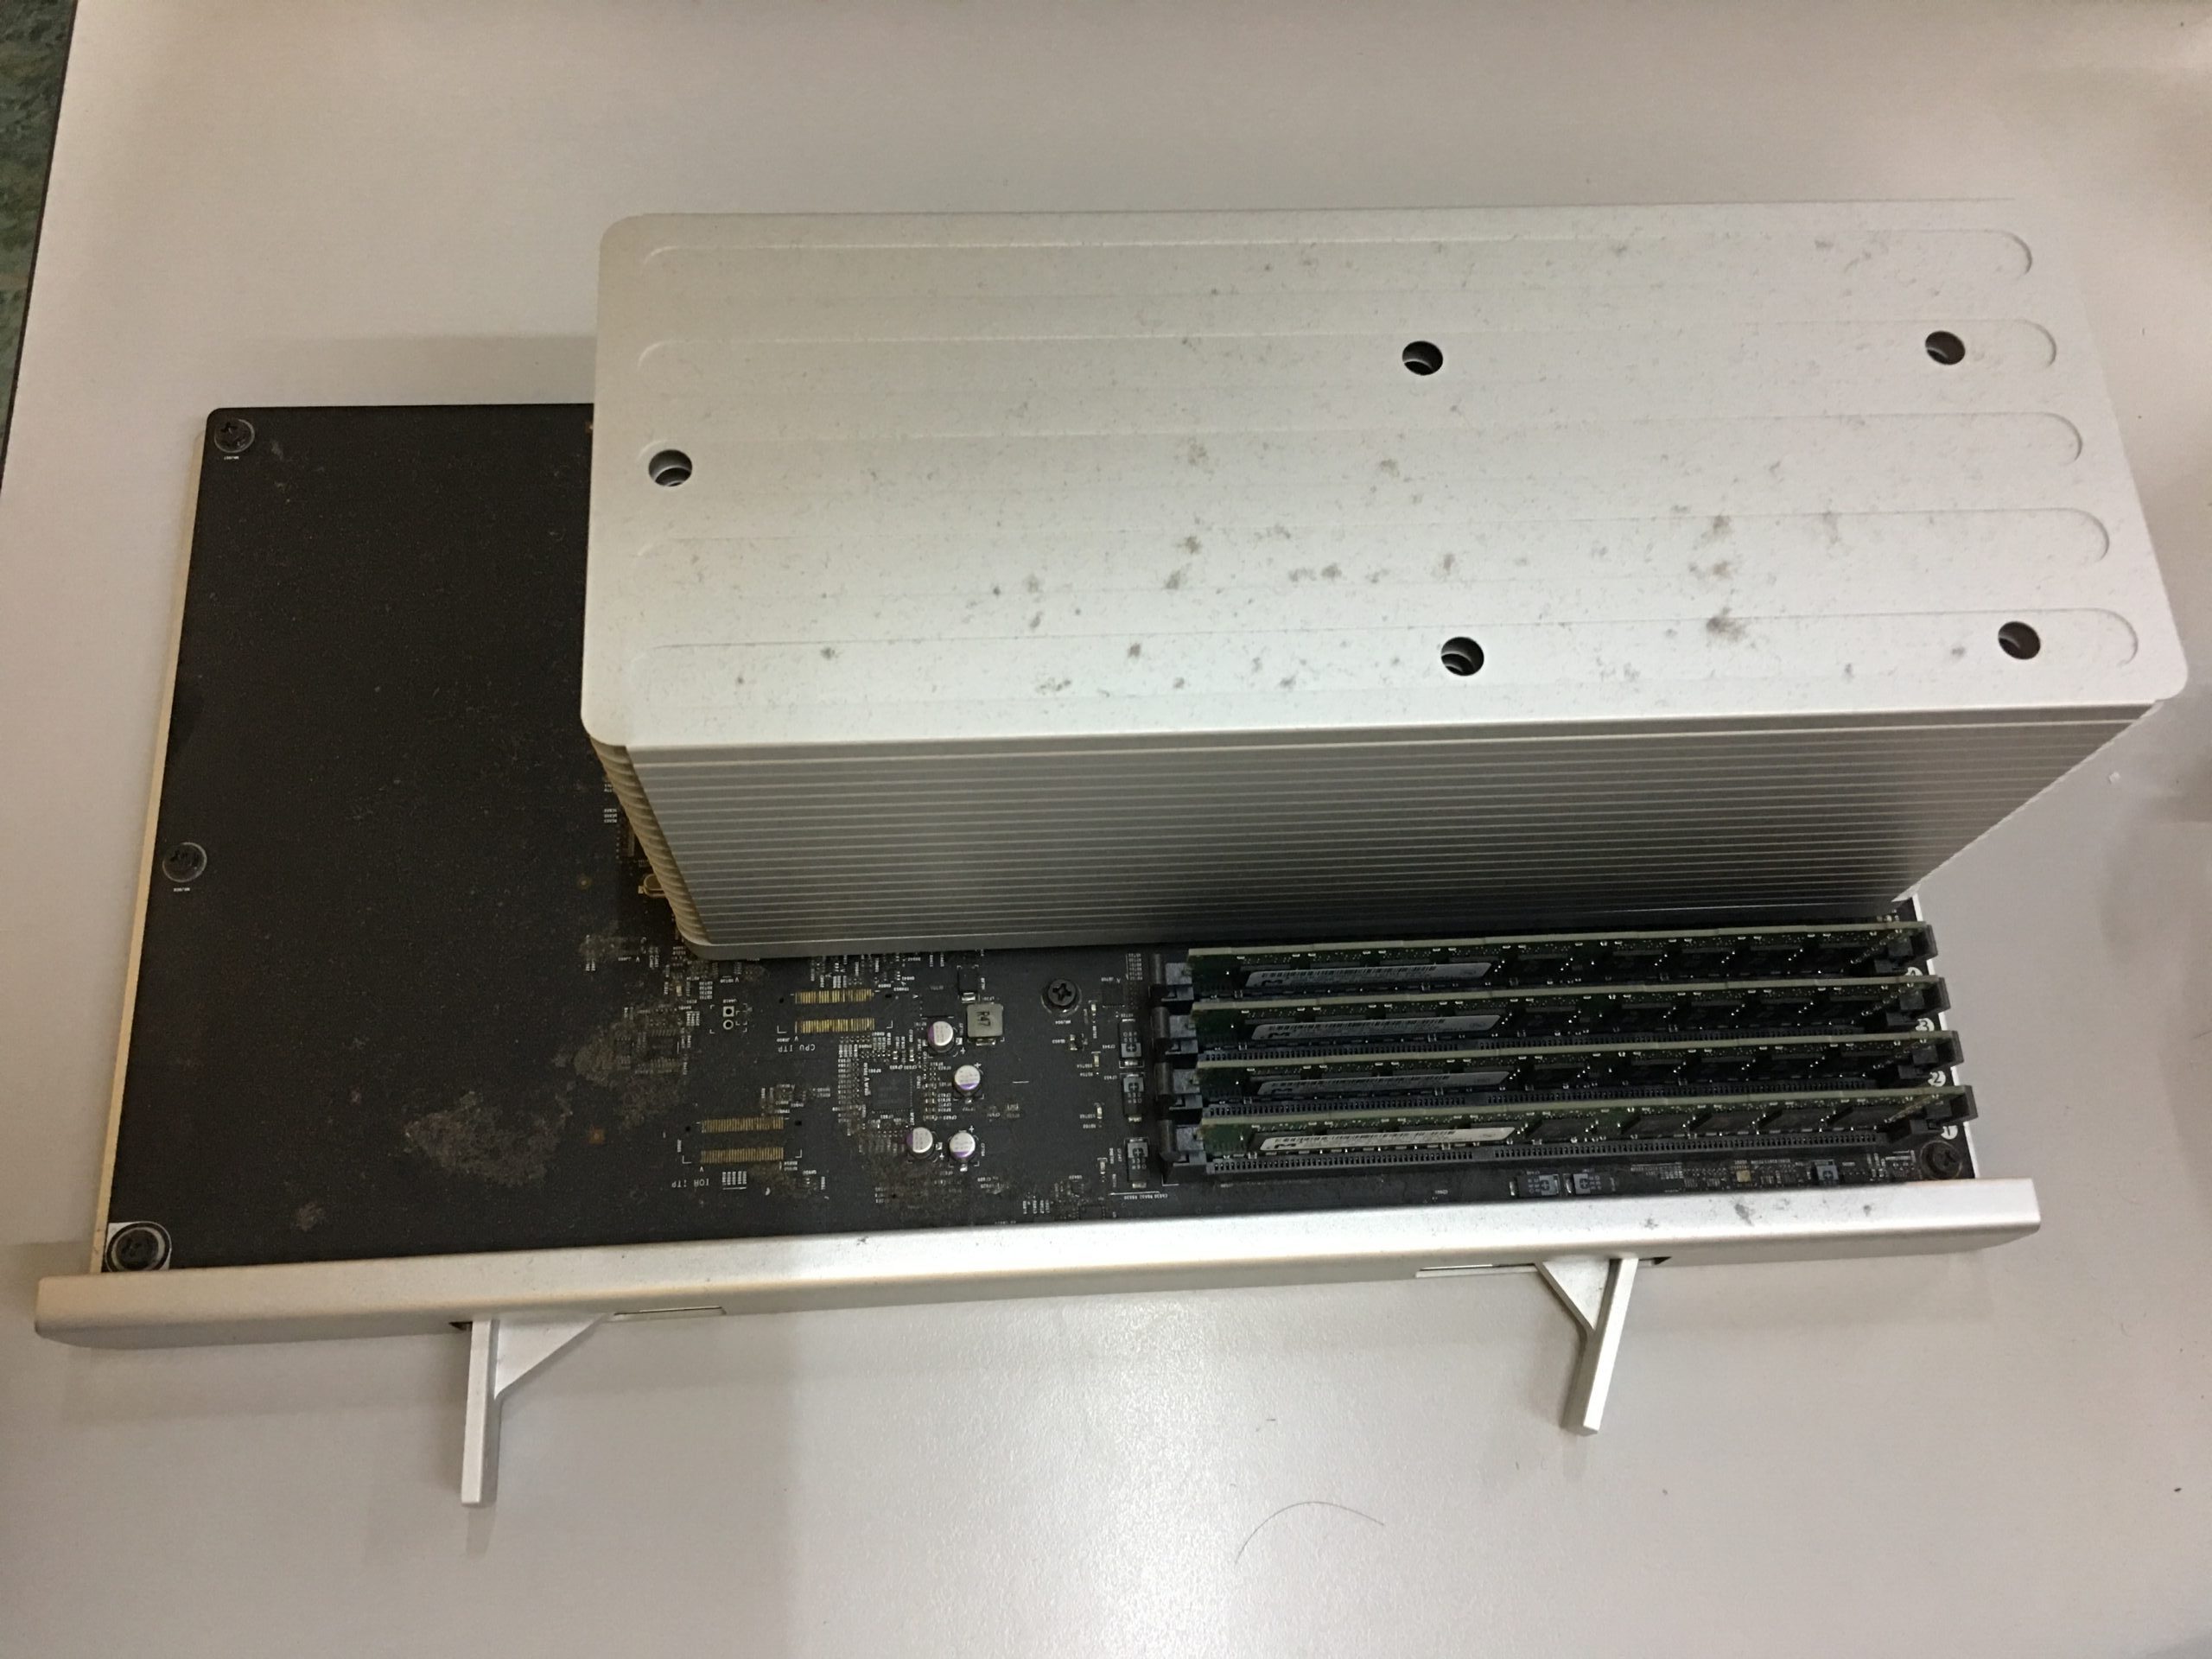
Unscrew and screw it .. unplug and plug … easy job, done.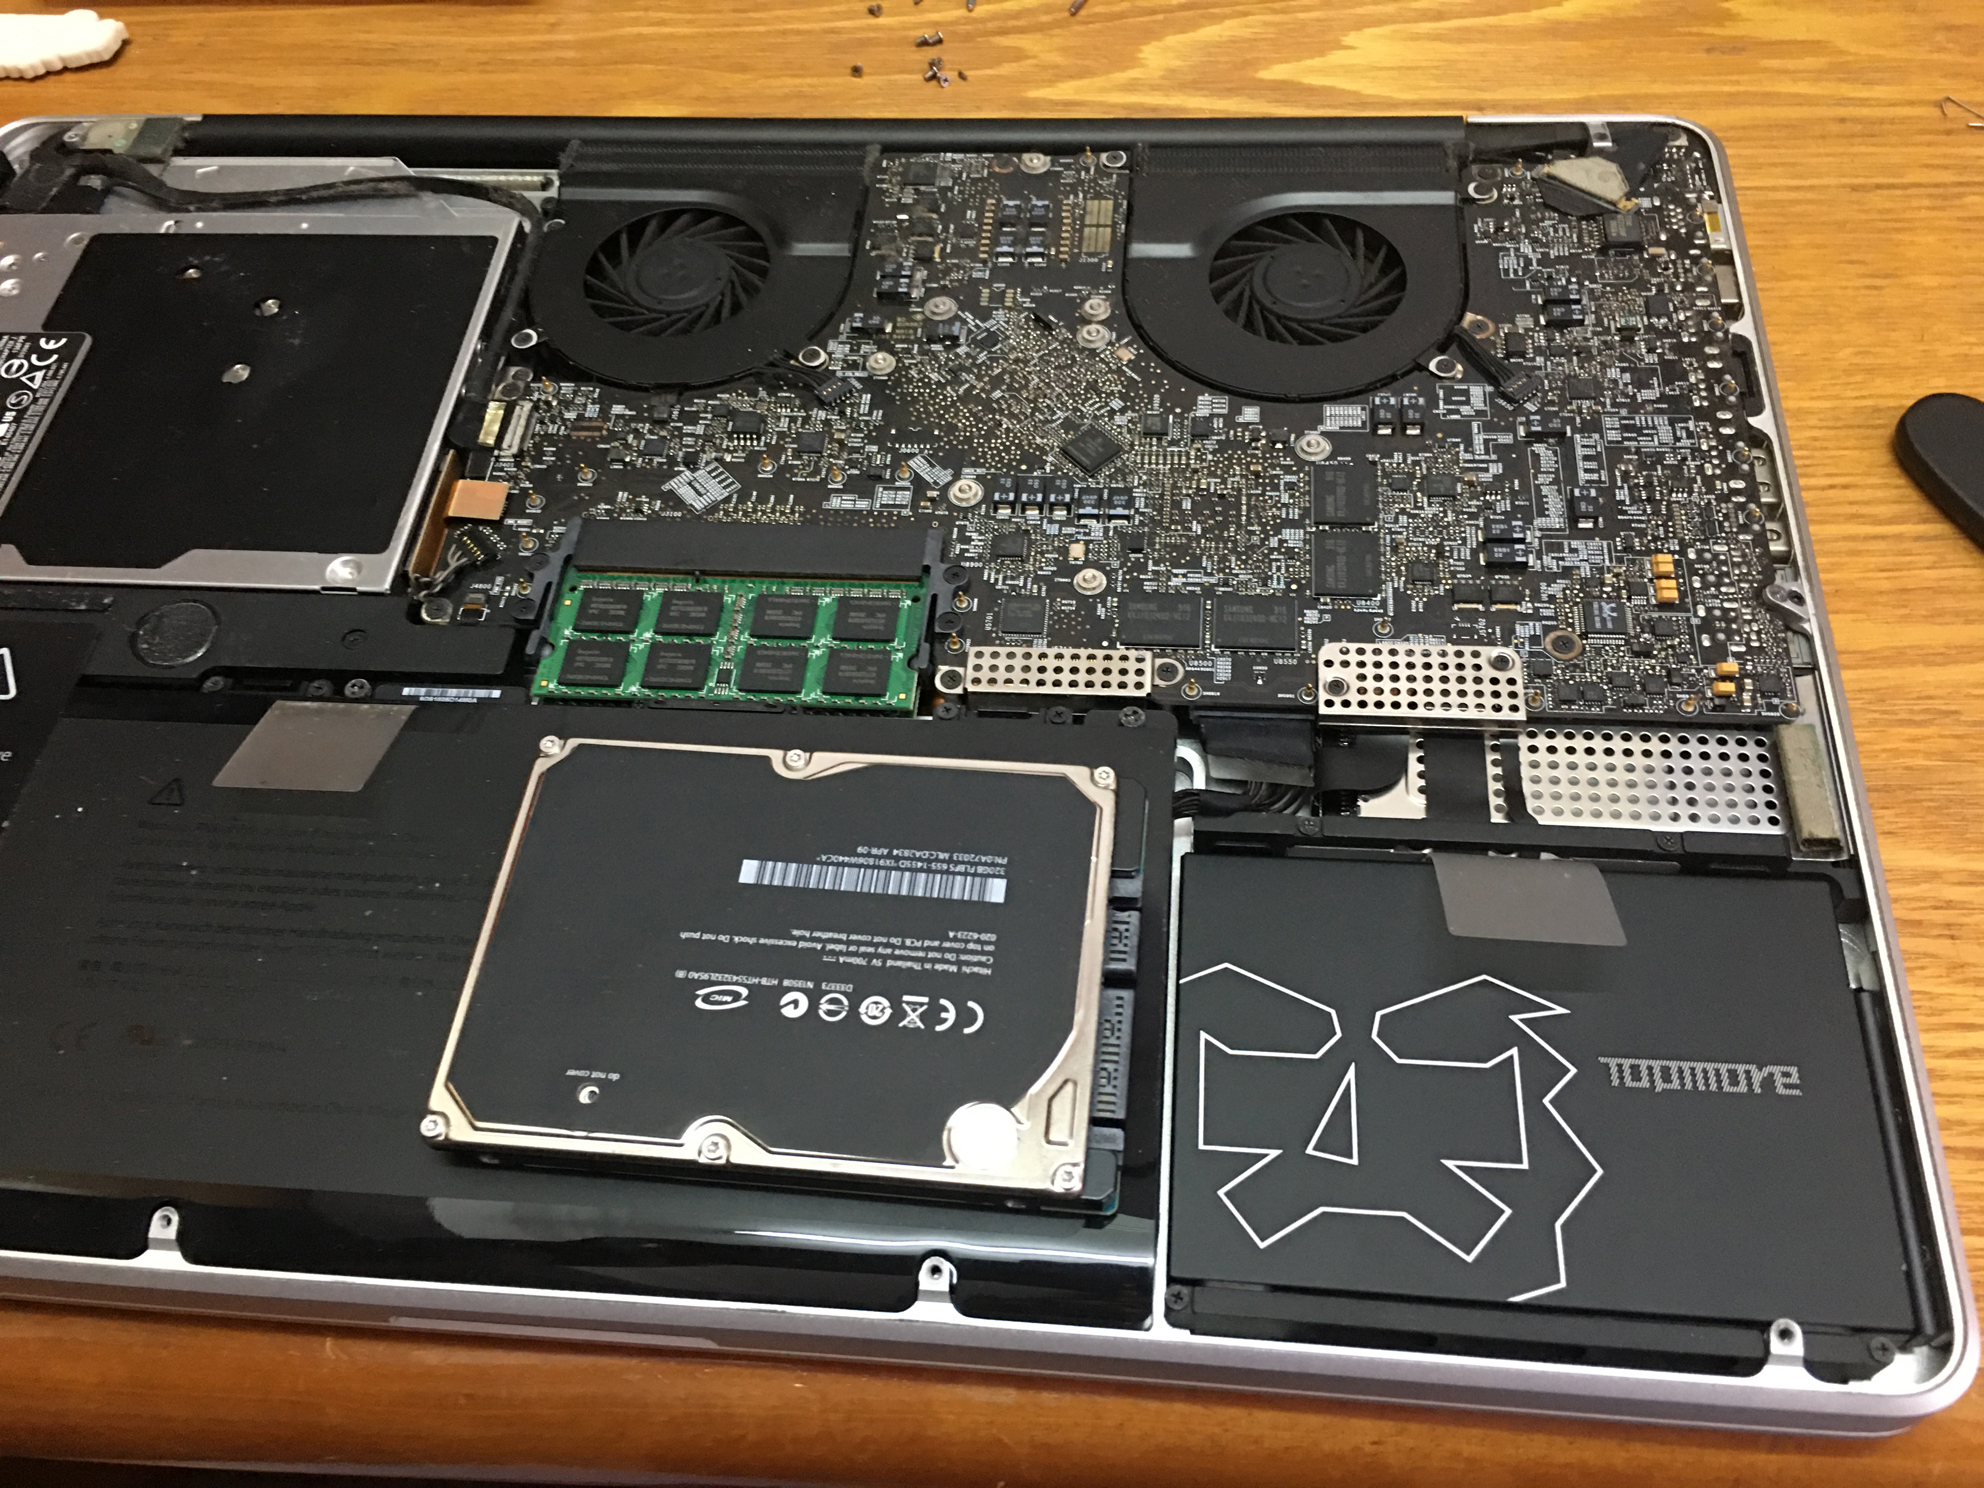
Download EL Capitan from website https://support.apple.com/en-us/HT211683 , double click try upgrade but can’t update, try to use OSX snow leopard to create the USB installer, try few time also can’t success, check google only i discover snow leopard can’t generate the bootable installer OSX.
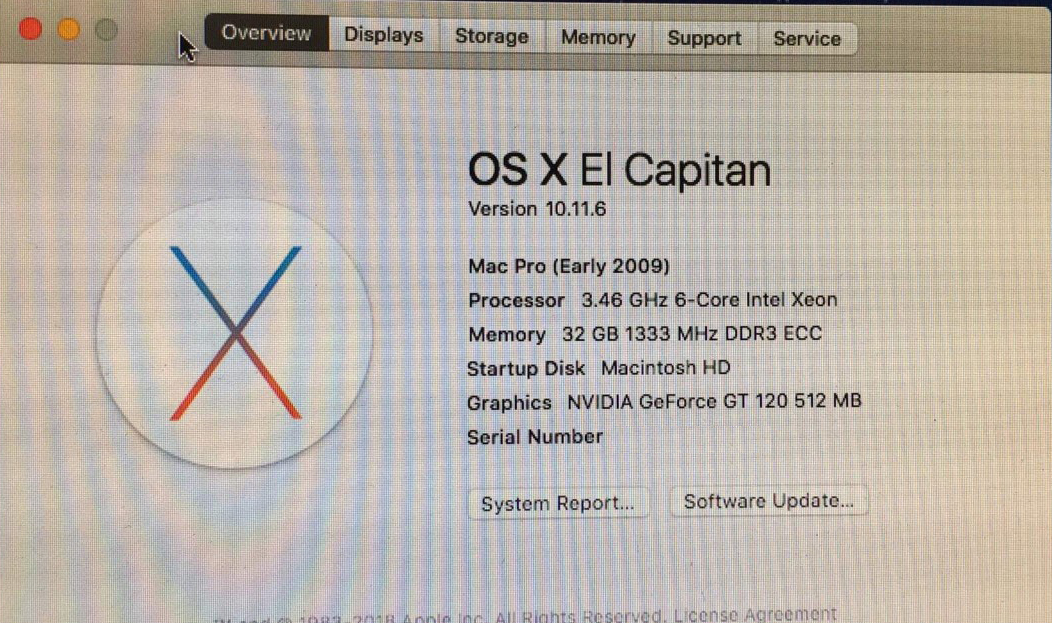
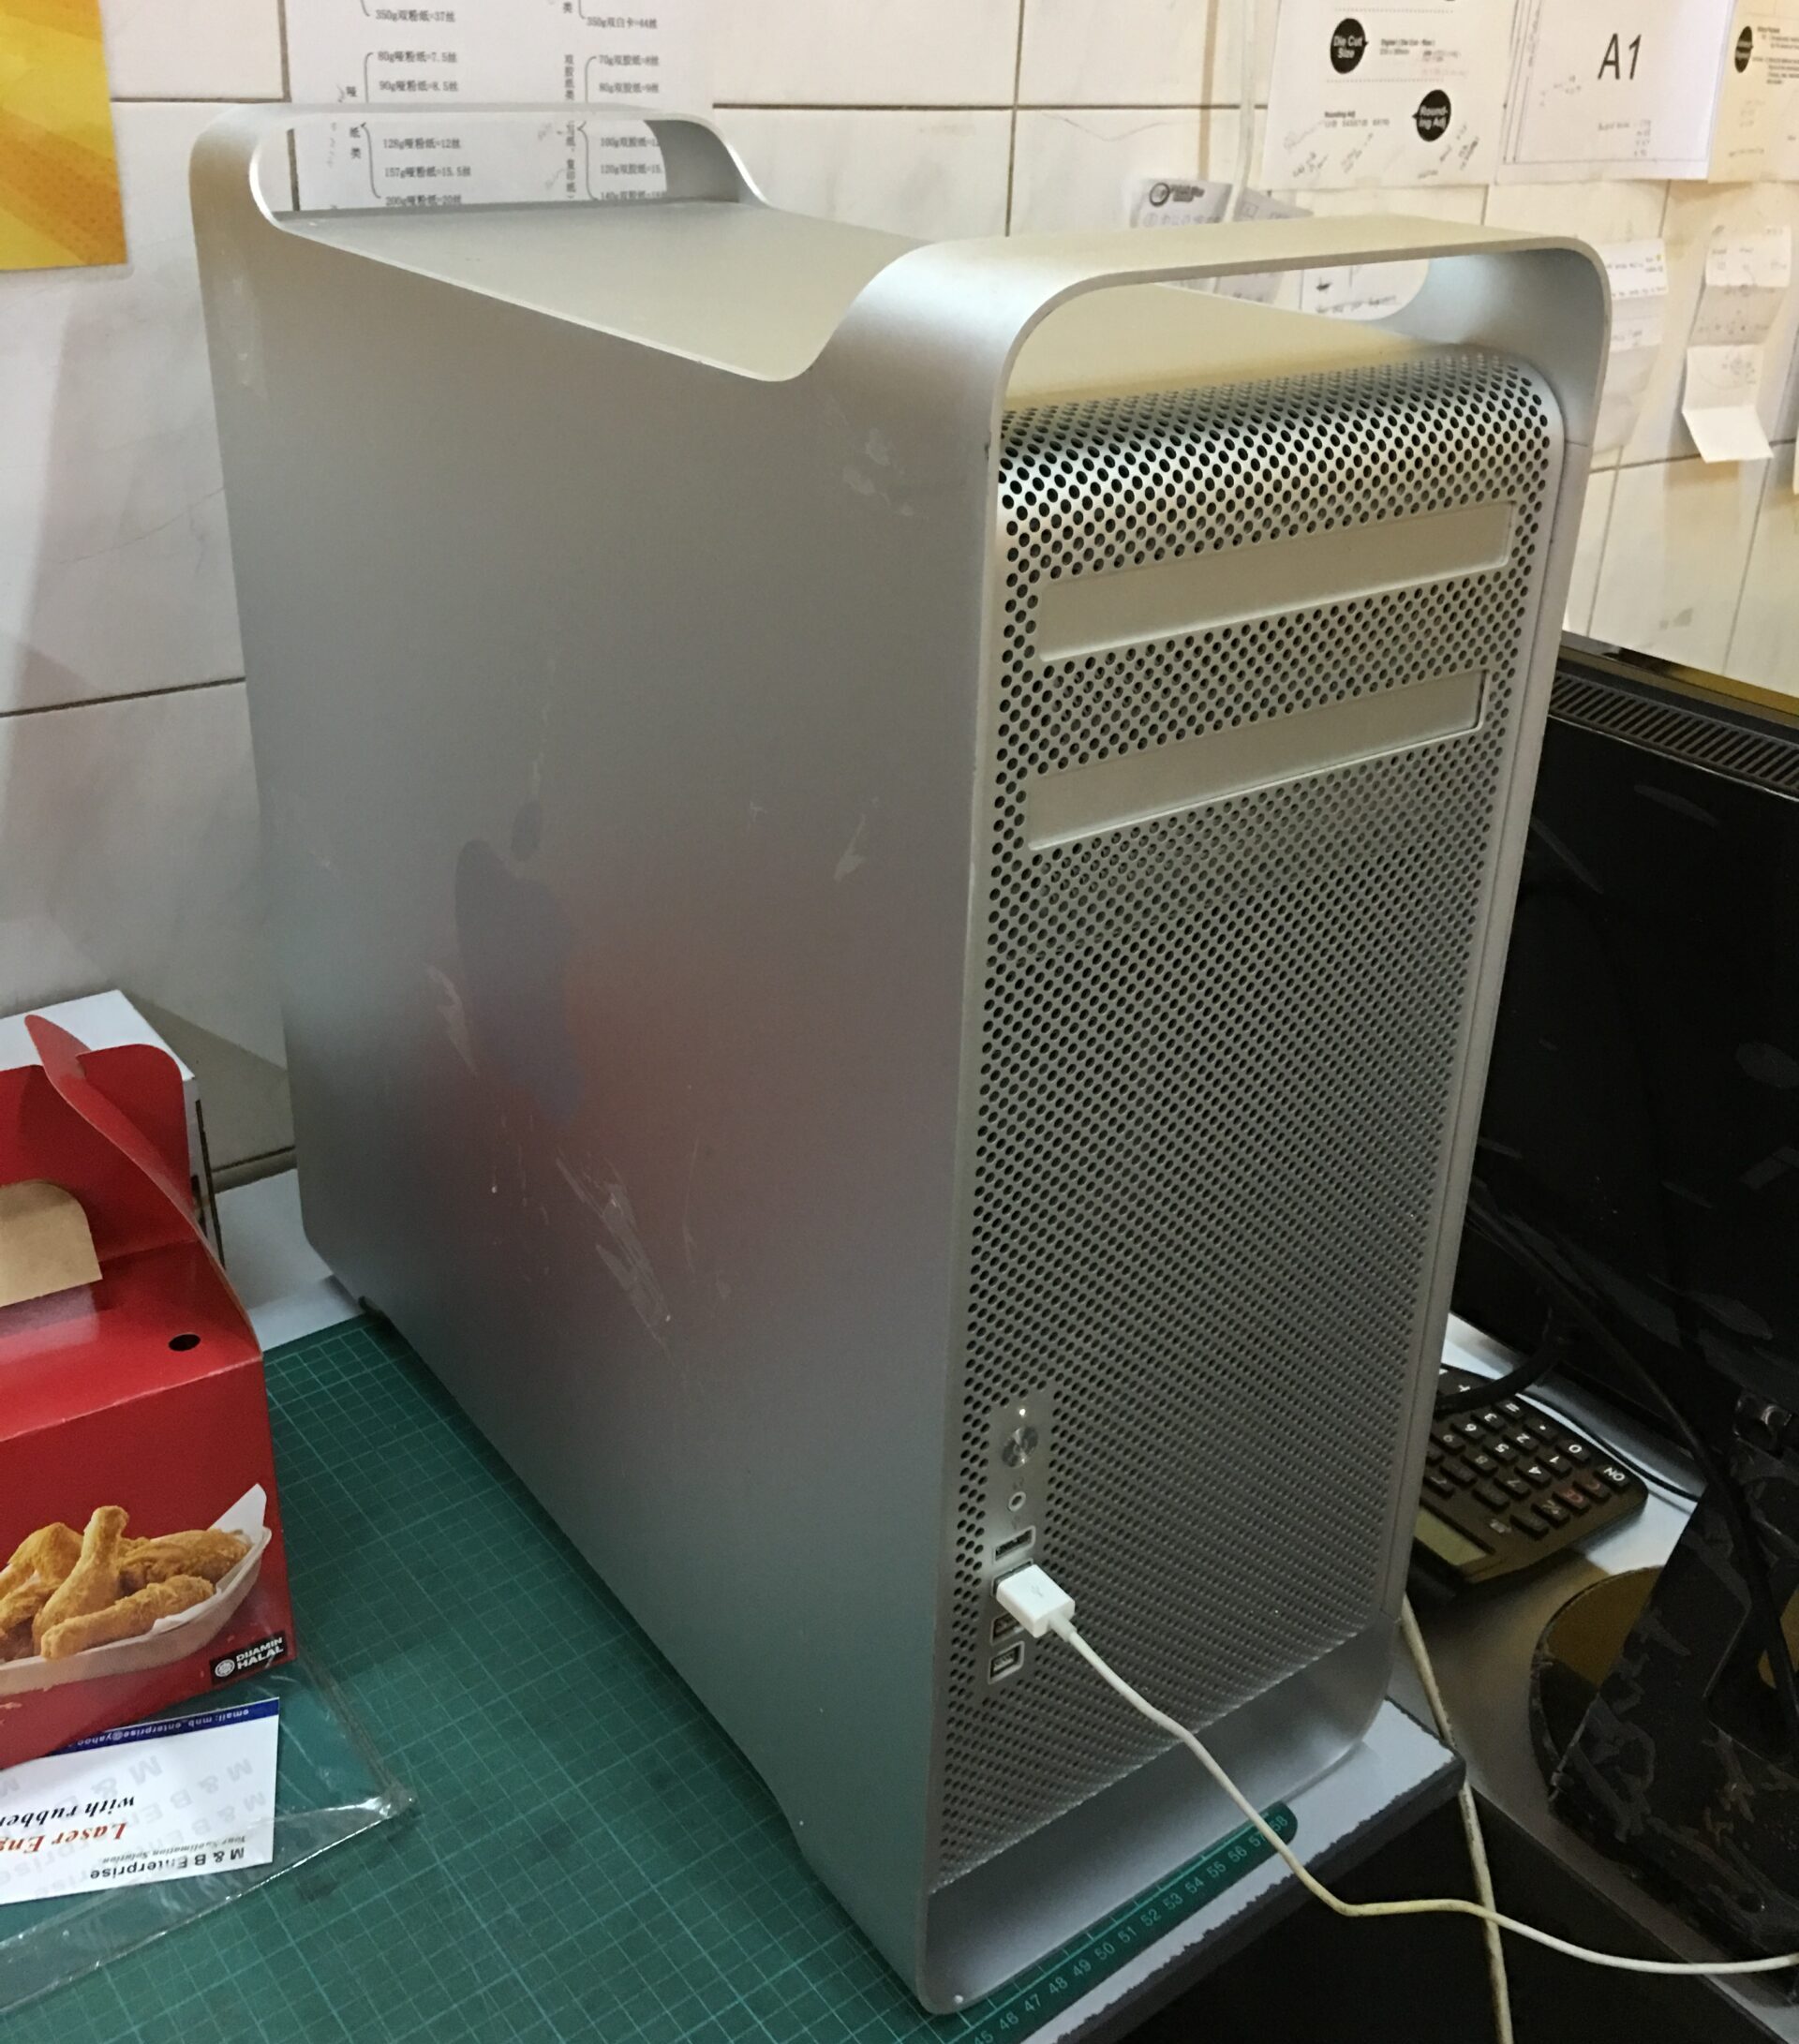
I have to use my macpro EL Capitan to create the USB installer.
sudo /Applications/Install\ OS\ X\ El\ Capitan.app/Contents/Resources/createinstallmedia --volume /Volumes/MyVolume --applicationpath /Applications/Install\ OS\ X\ El\ Capitan.app
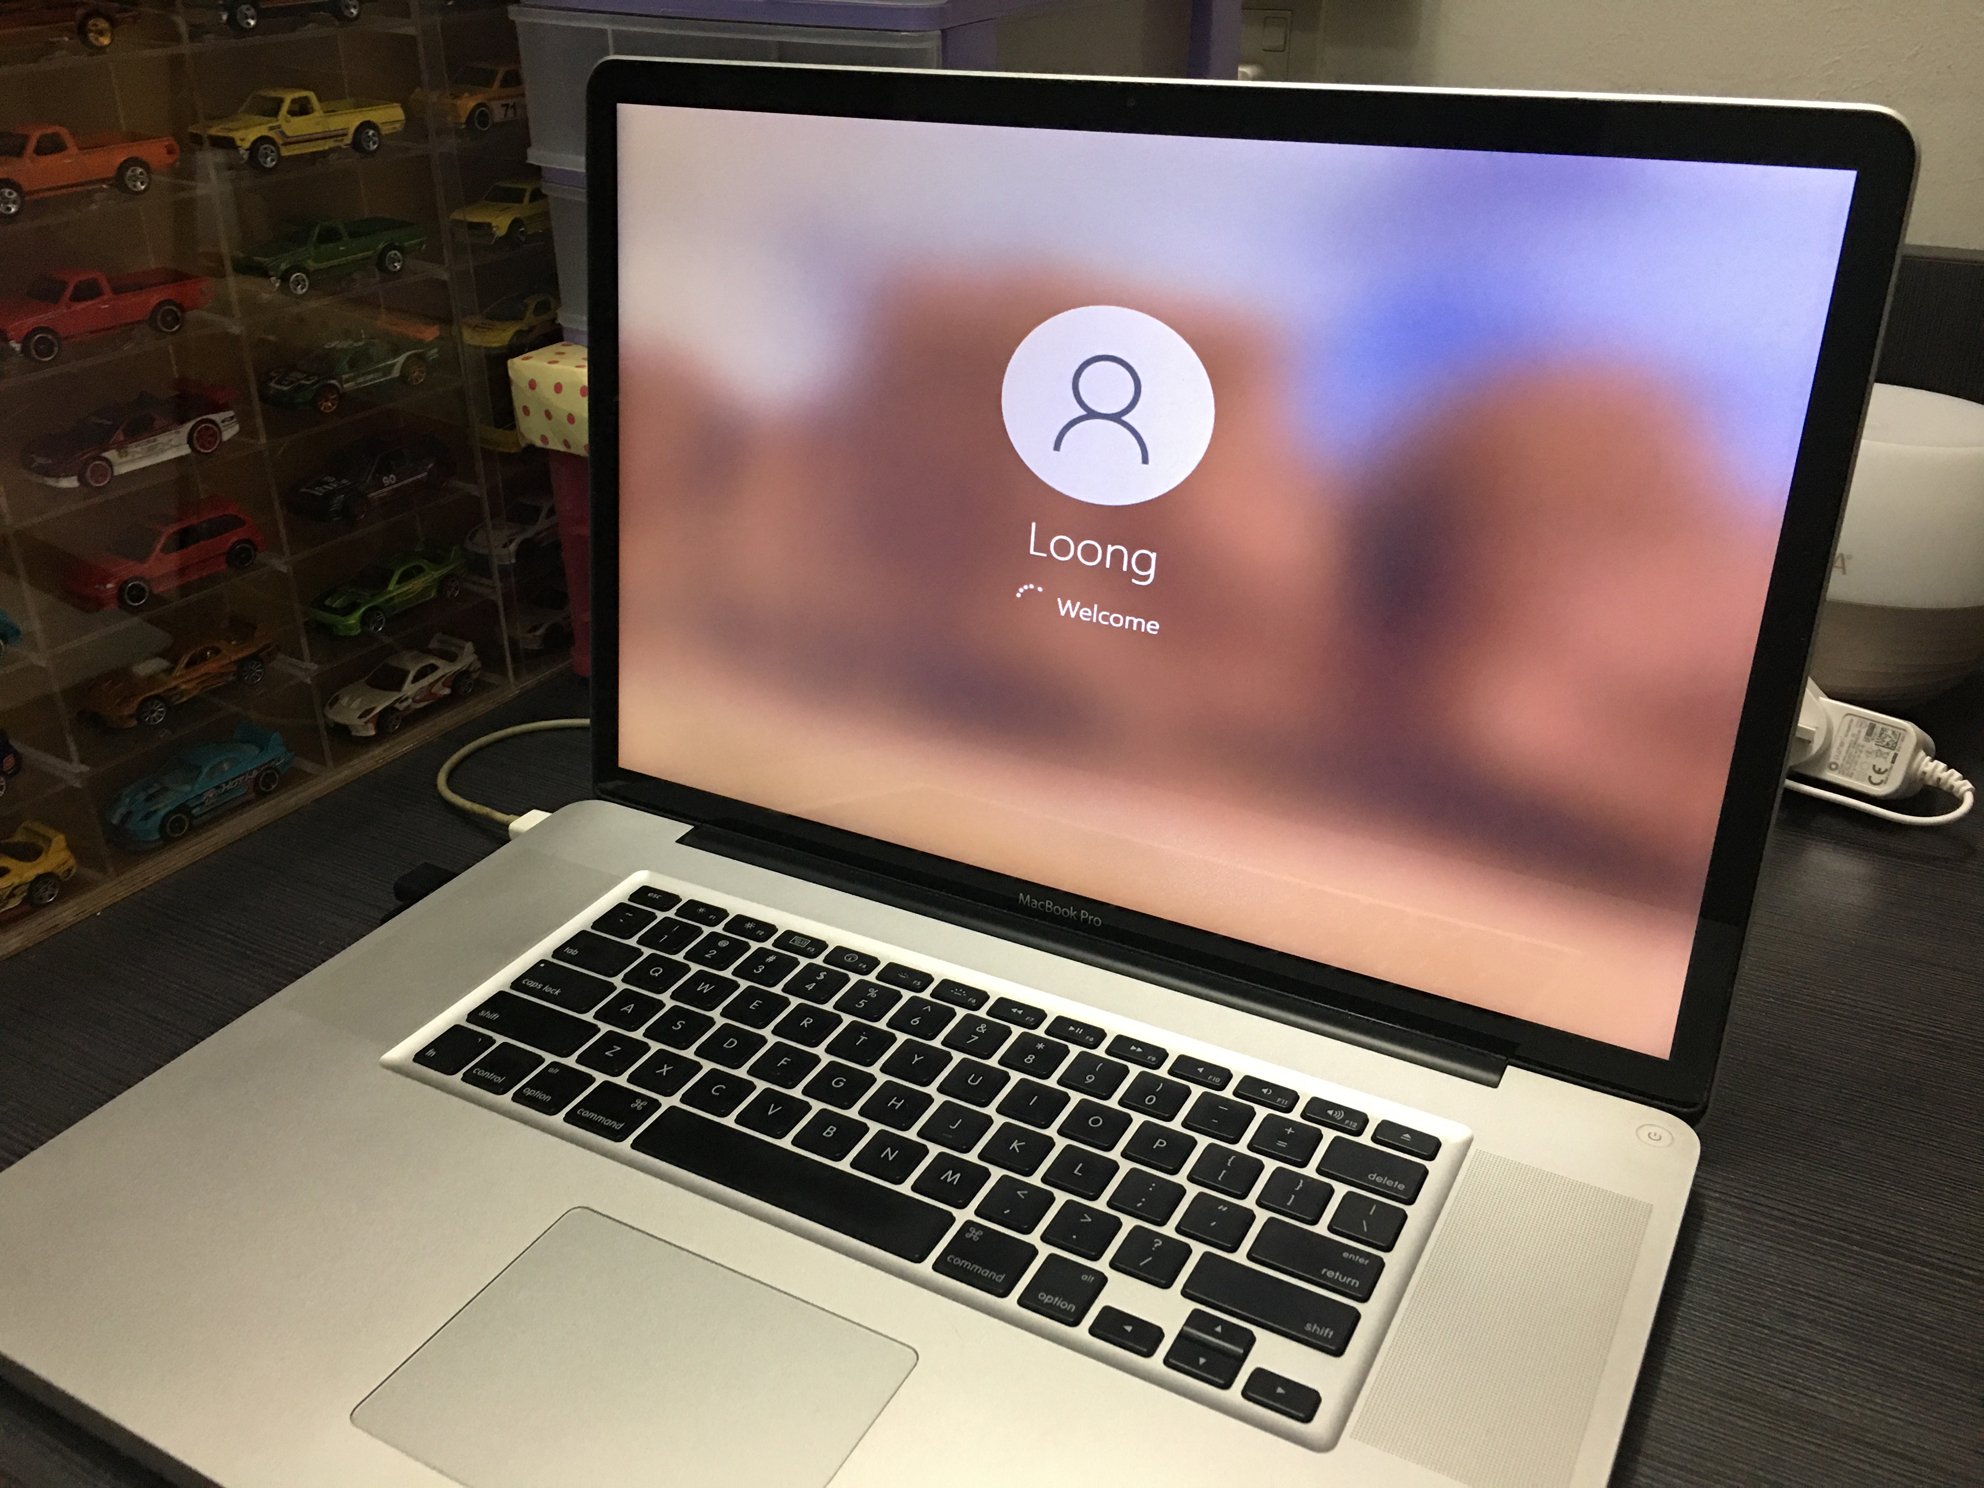
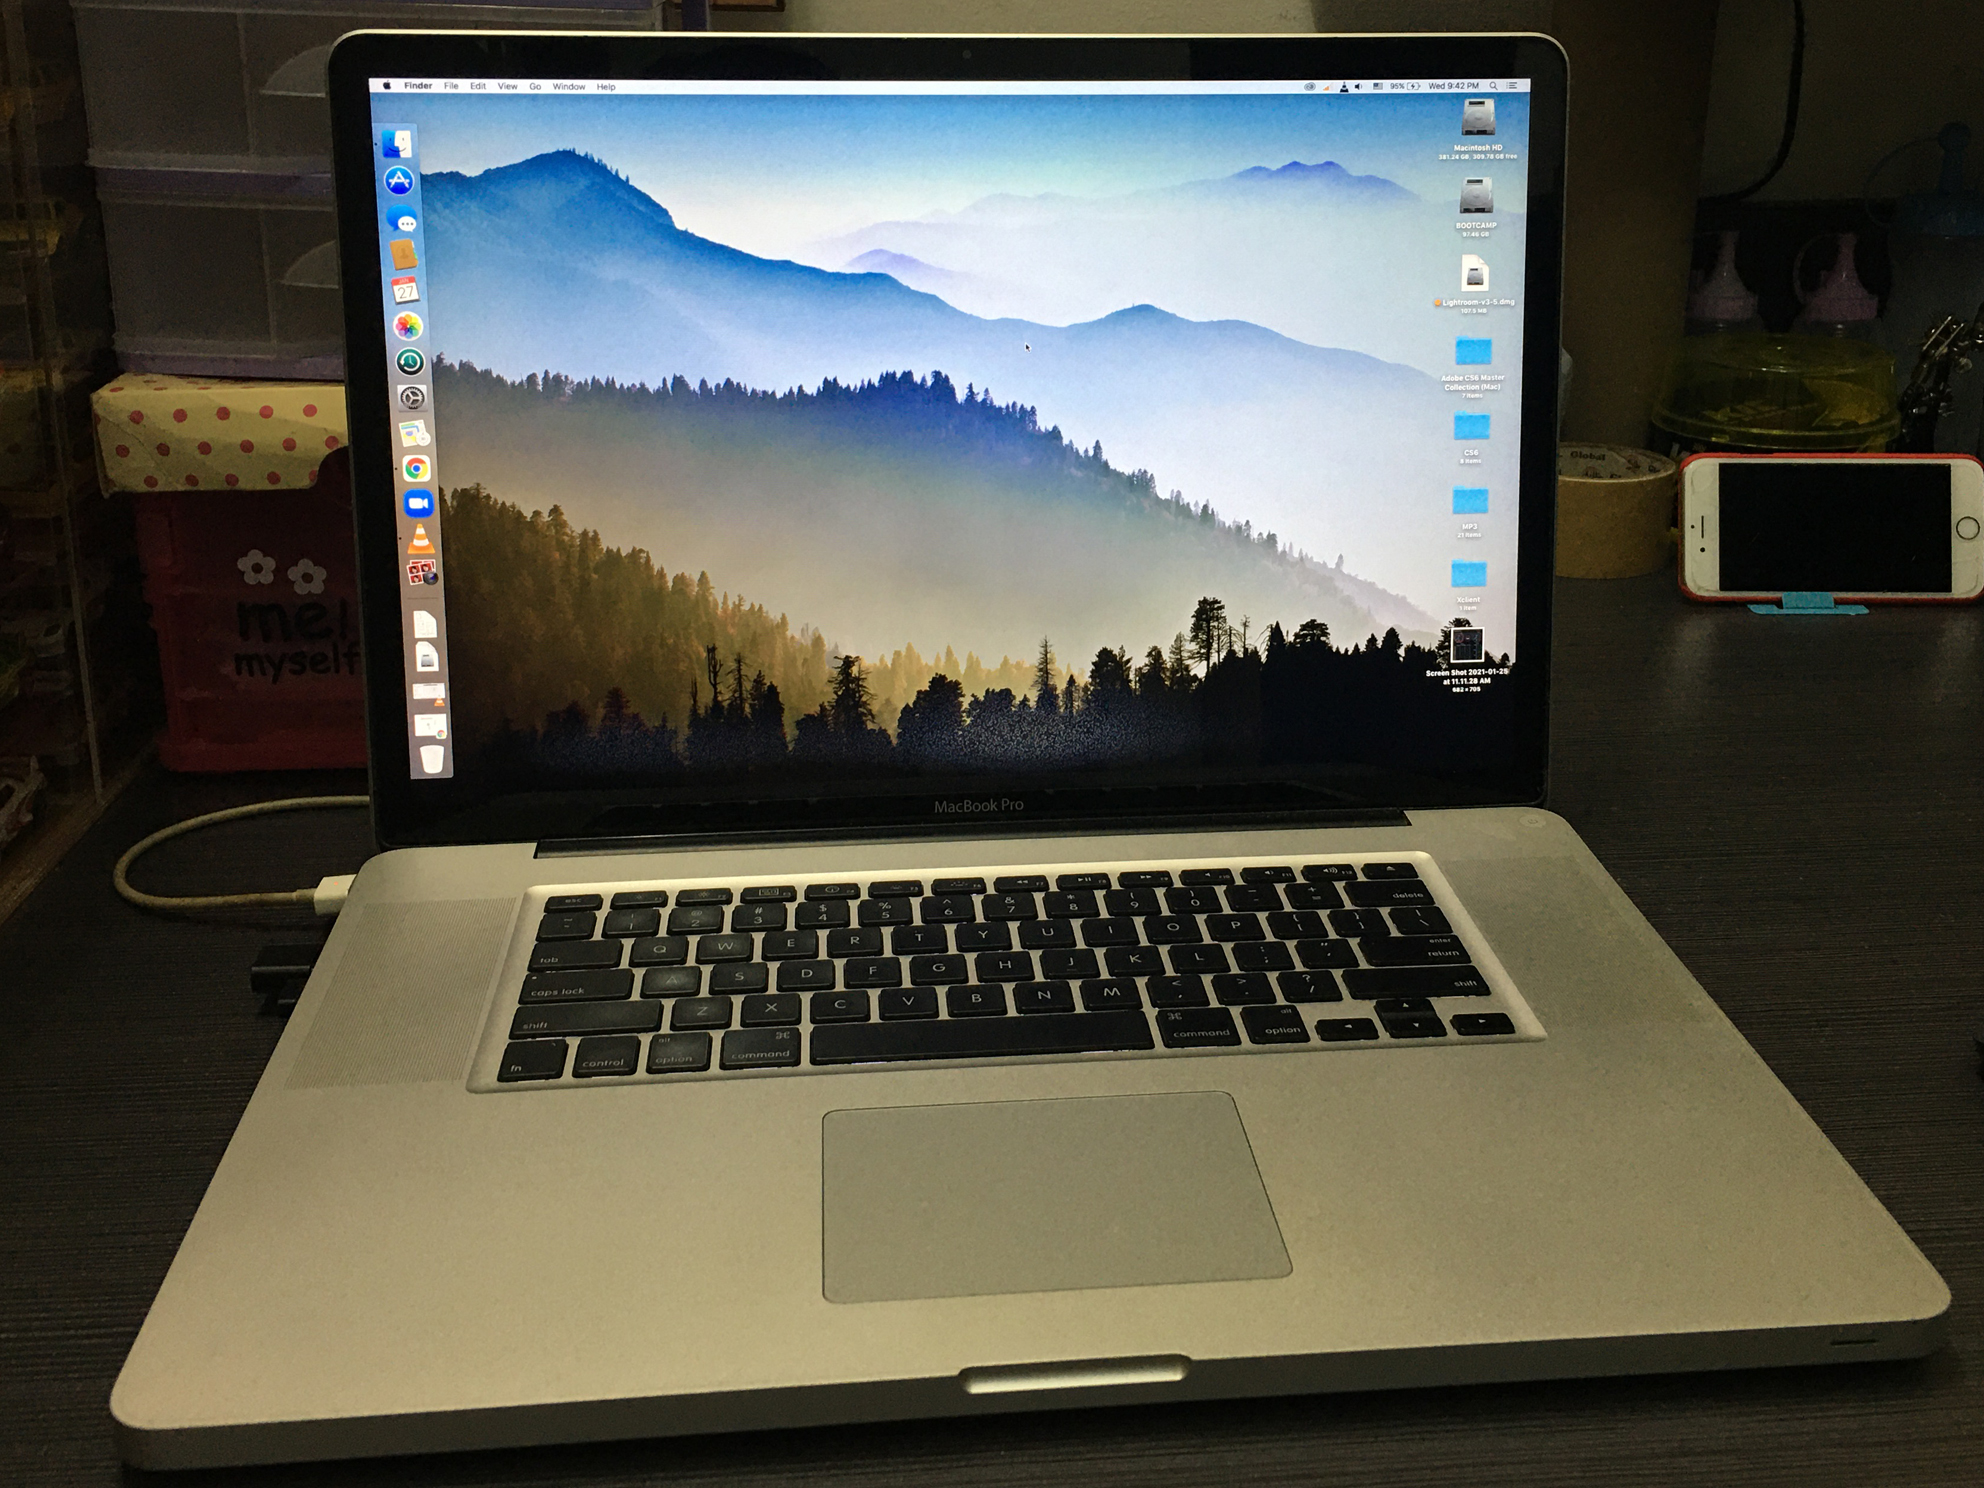
I use the bootable USB installer to upgrade my MBP snow leopard,
Finally .. no more error message and manage to upgrade also.
Previously snow leopard + VMware Fusion(win xp)
I planning to install bootcamp install with win7 / win10 .. want to try another way to install the window at mac.
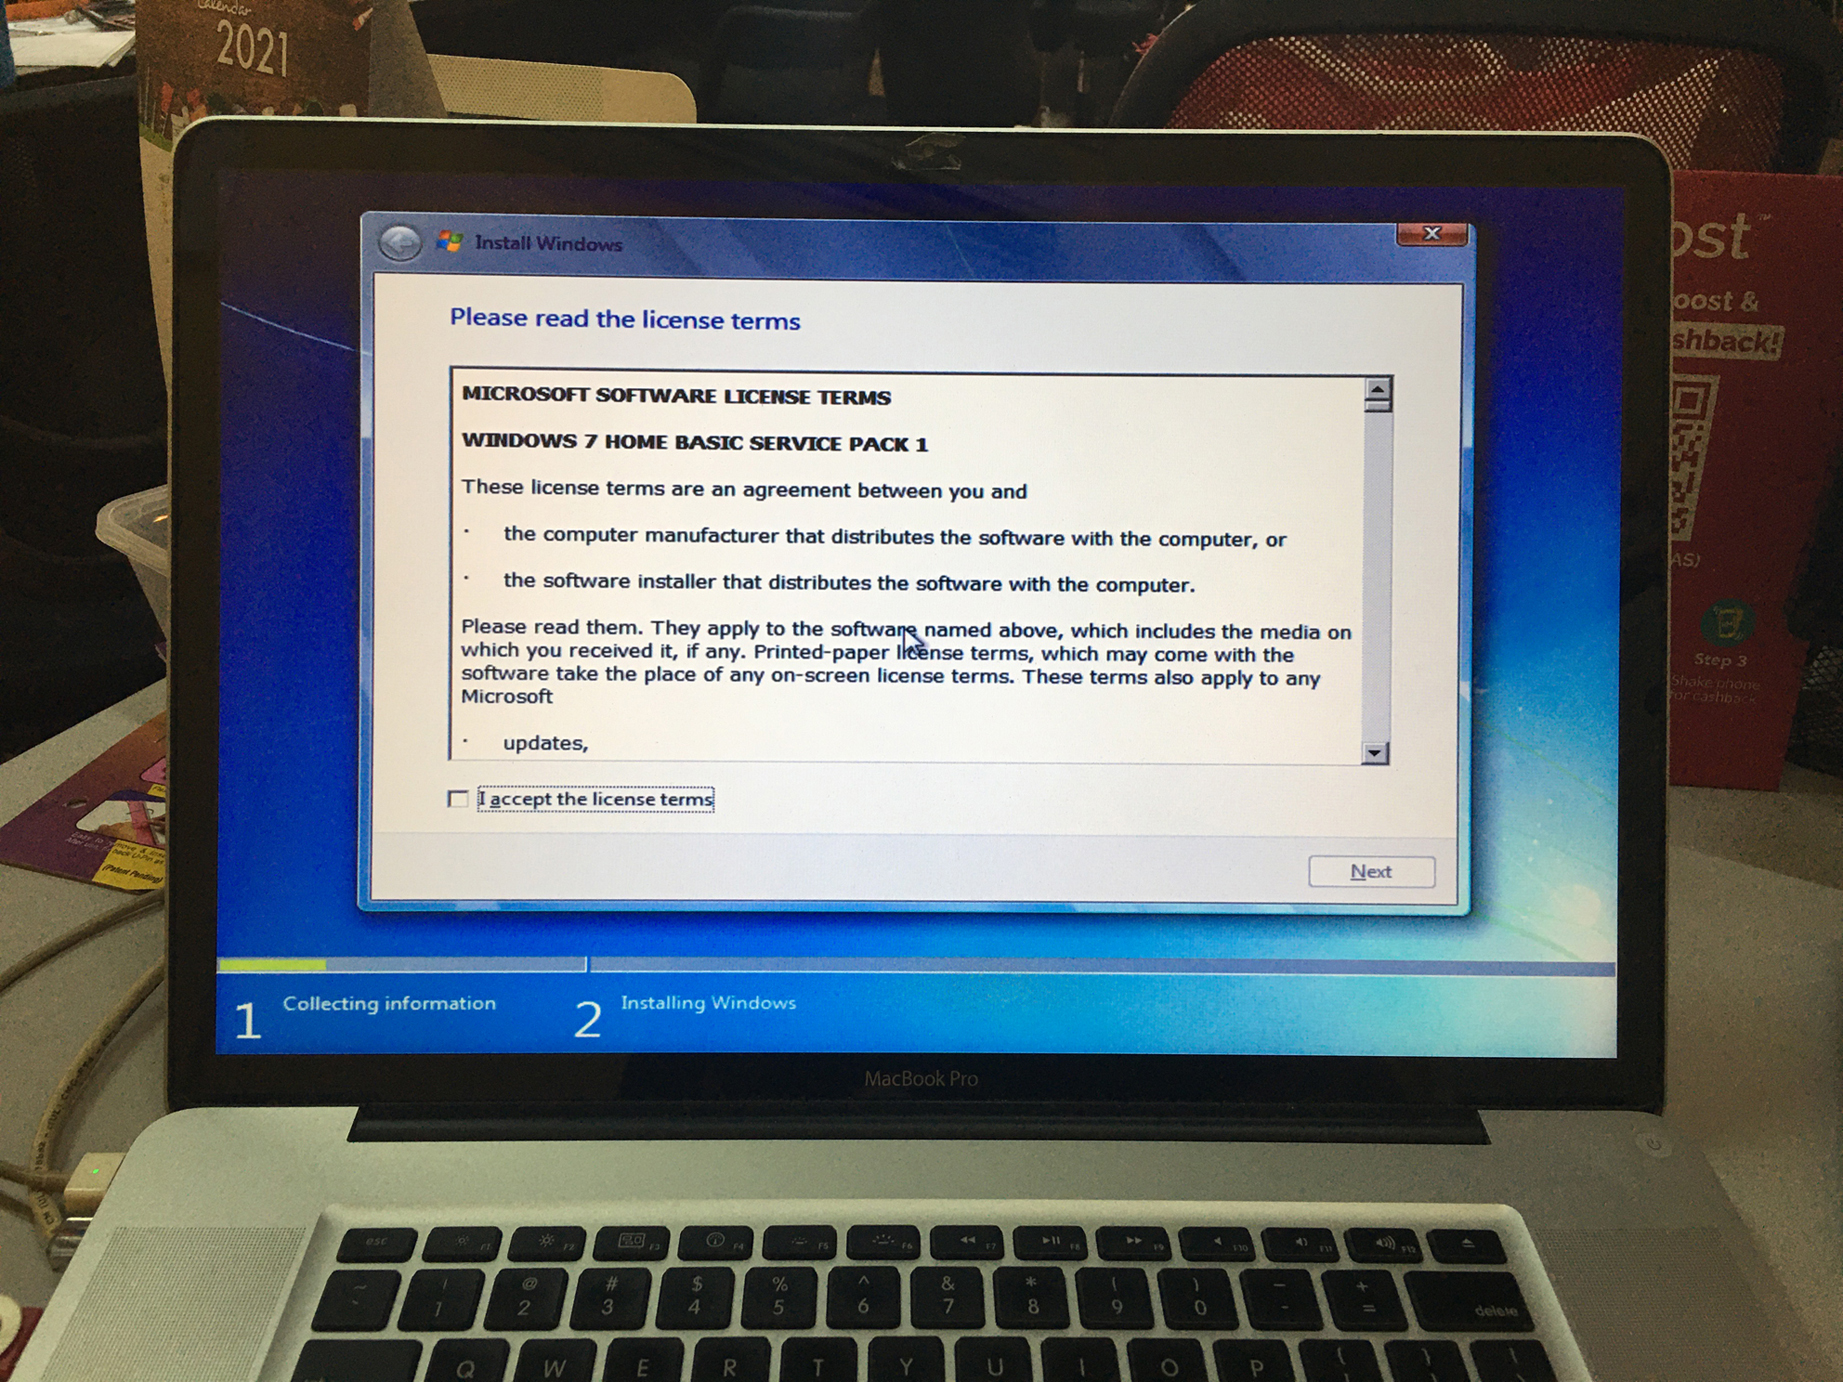
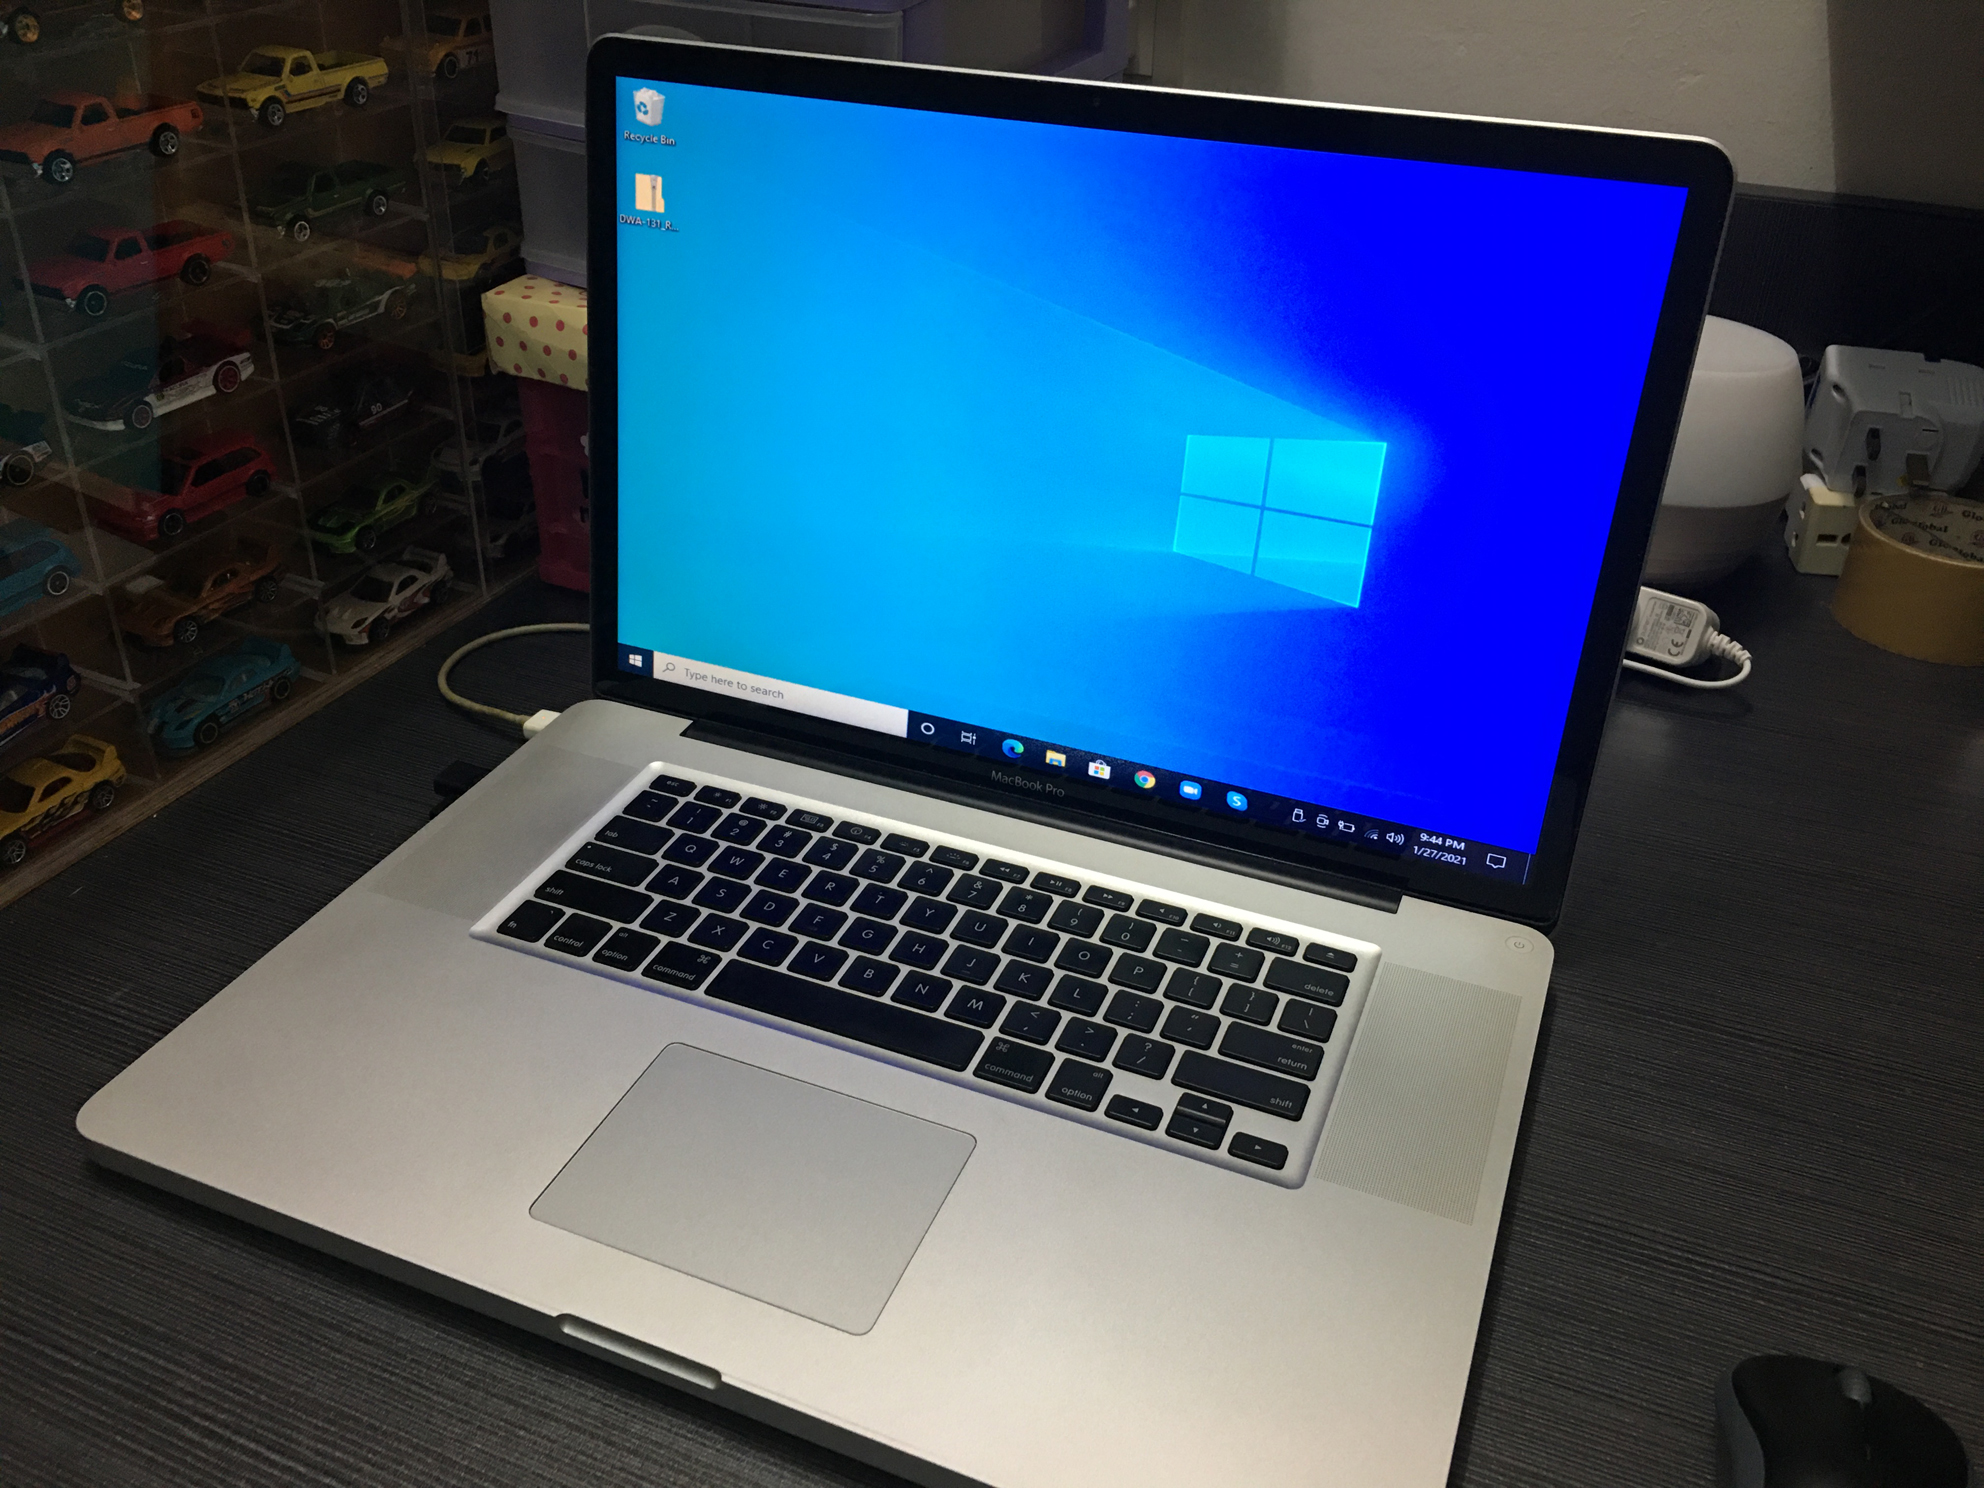
I use installer win7 cd to install window at my mac, then only i using bootable installer to upgrade to win10. I can’t manage to use the USB bootable to install win10, OSX it doesn’t show the selection compare by google research.
Win10 download form this link
https://www.microsoft.com/en-au/software-download/windows10ISO
I use the ISO file create the win 10 USB bootable installer.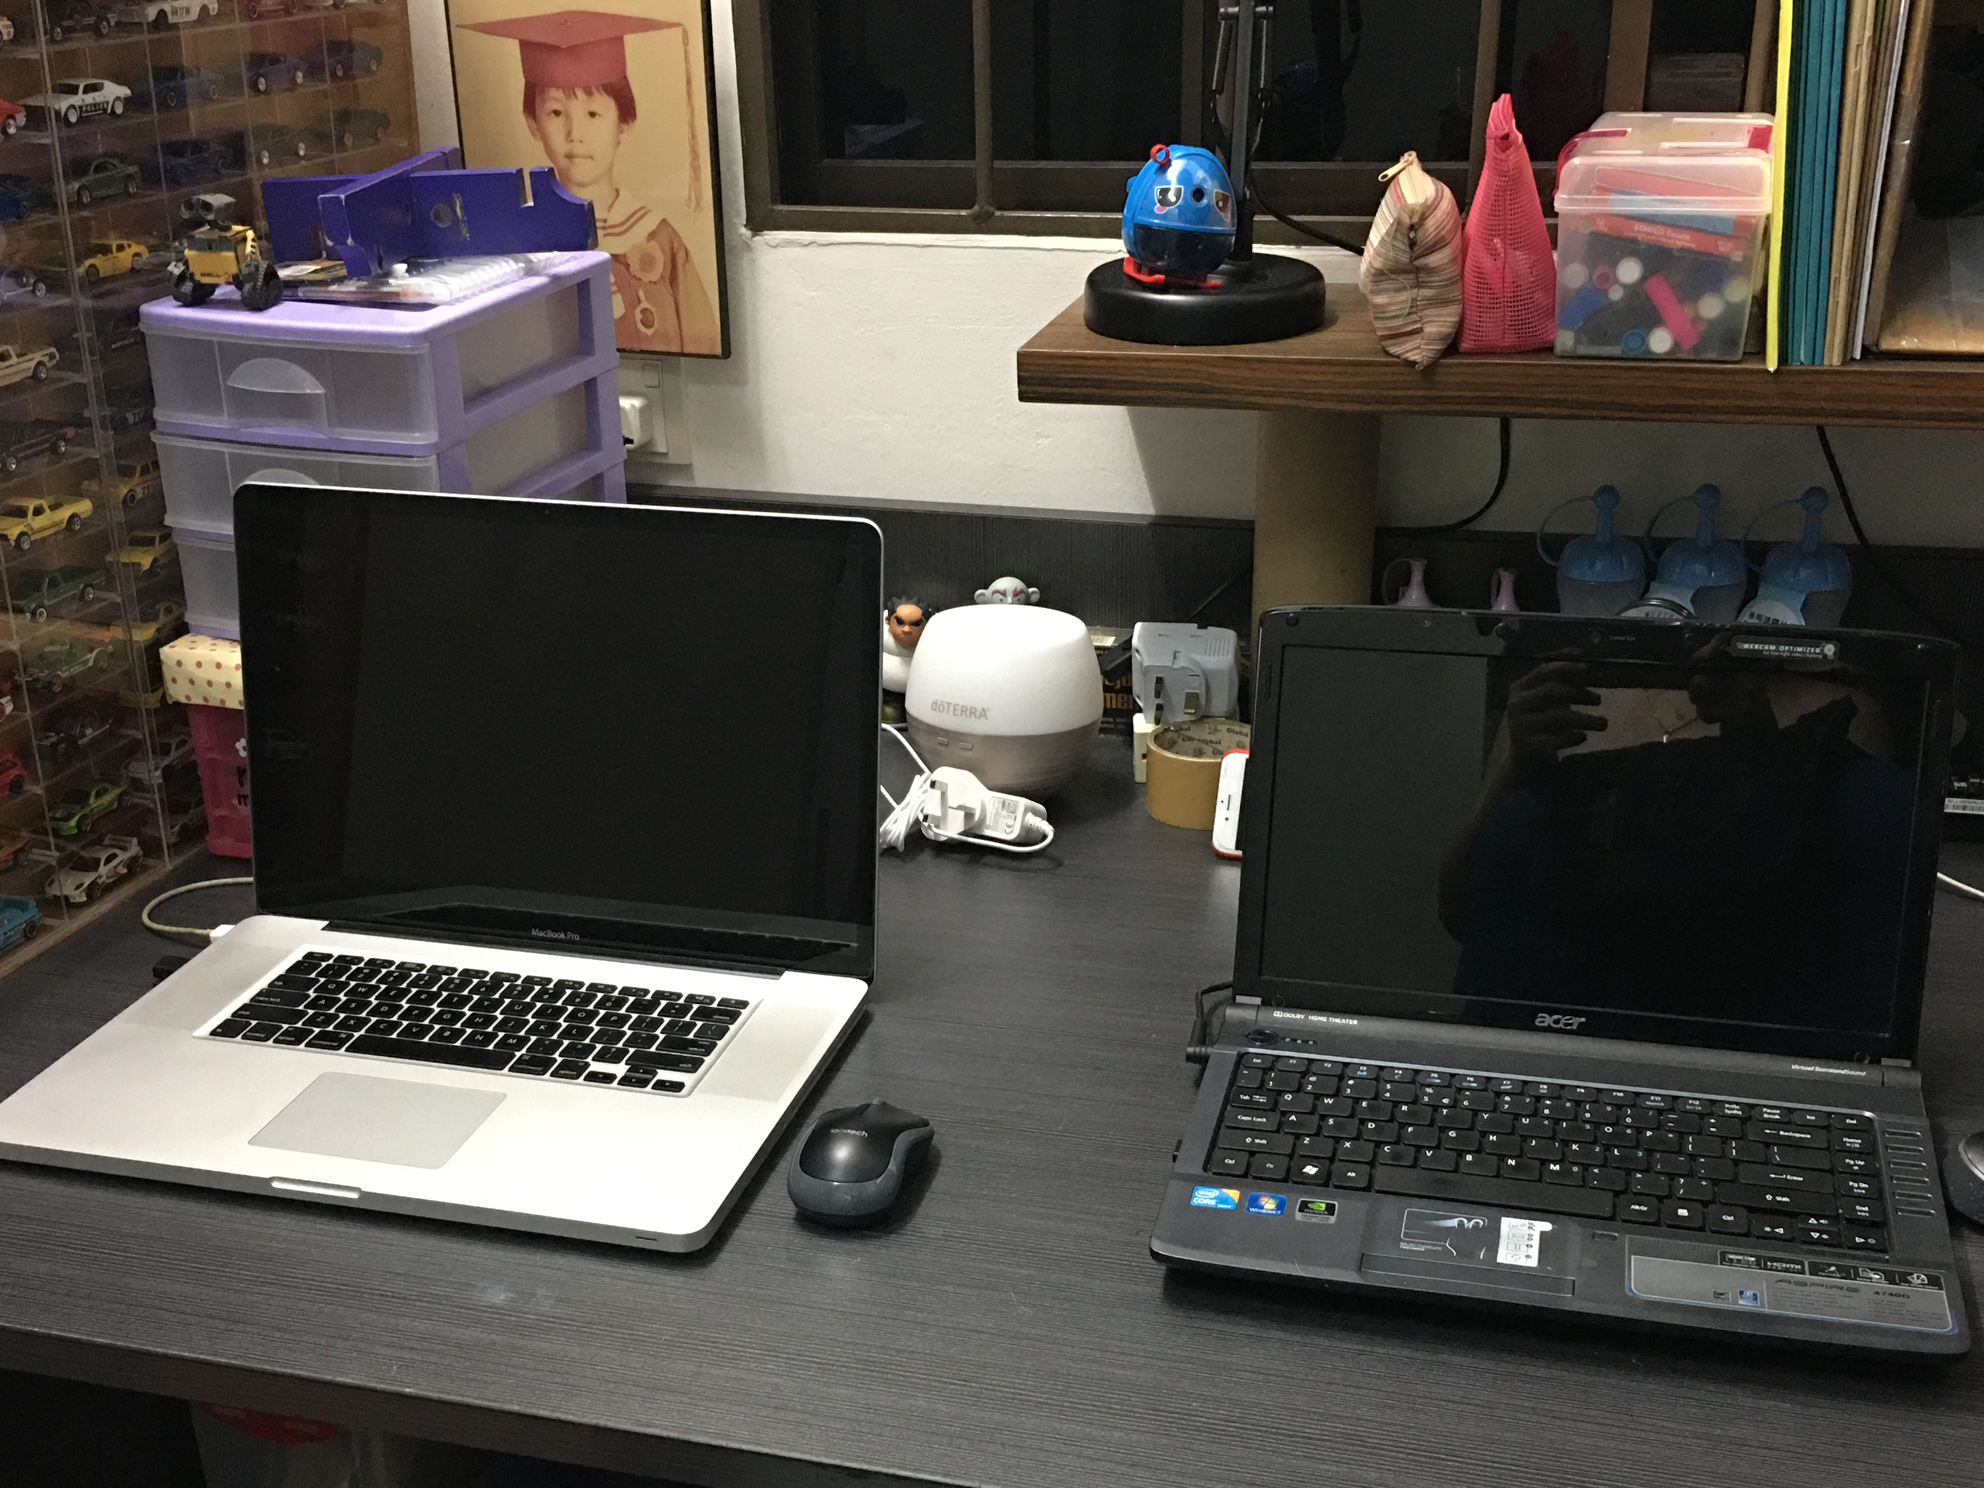
Install 2 operating system just for fun .. haha after install trackpad mouse can’t function and i have to google and study how to settle .. .. i found a link and installer, Luckily it work and my trackpad can function properly.
I have try using win10 few time, don’t know is it need to do any setting or something i miss. MBP system fully function and fan loudly, very hot also.
I have a wifi USB , so i try install the wifi USB driver at win10, Because my MBP wifi card is broken and can’t function. I have to use network cable to connect internet and download the wifi usb driver. I surprise and found there are win and osx driver, which the wifi usb packaging didn’t show support mac.
and it function during download the driver, i found actually this model which i have can support OSX.
Restart boot with EL Capitan and install USB wifi driver .. .. surprise the wifi usb can work.
This temporally solve me a big problem, if not i have to find a way to installer the network cable form modem to my study room.
Wired project can on hold .. ..
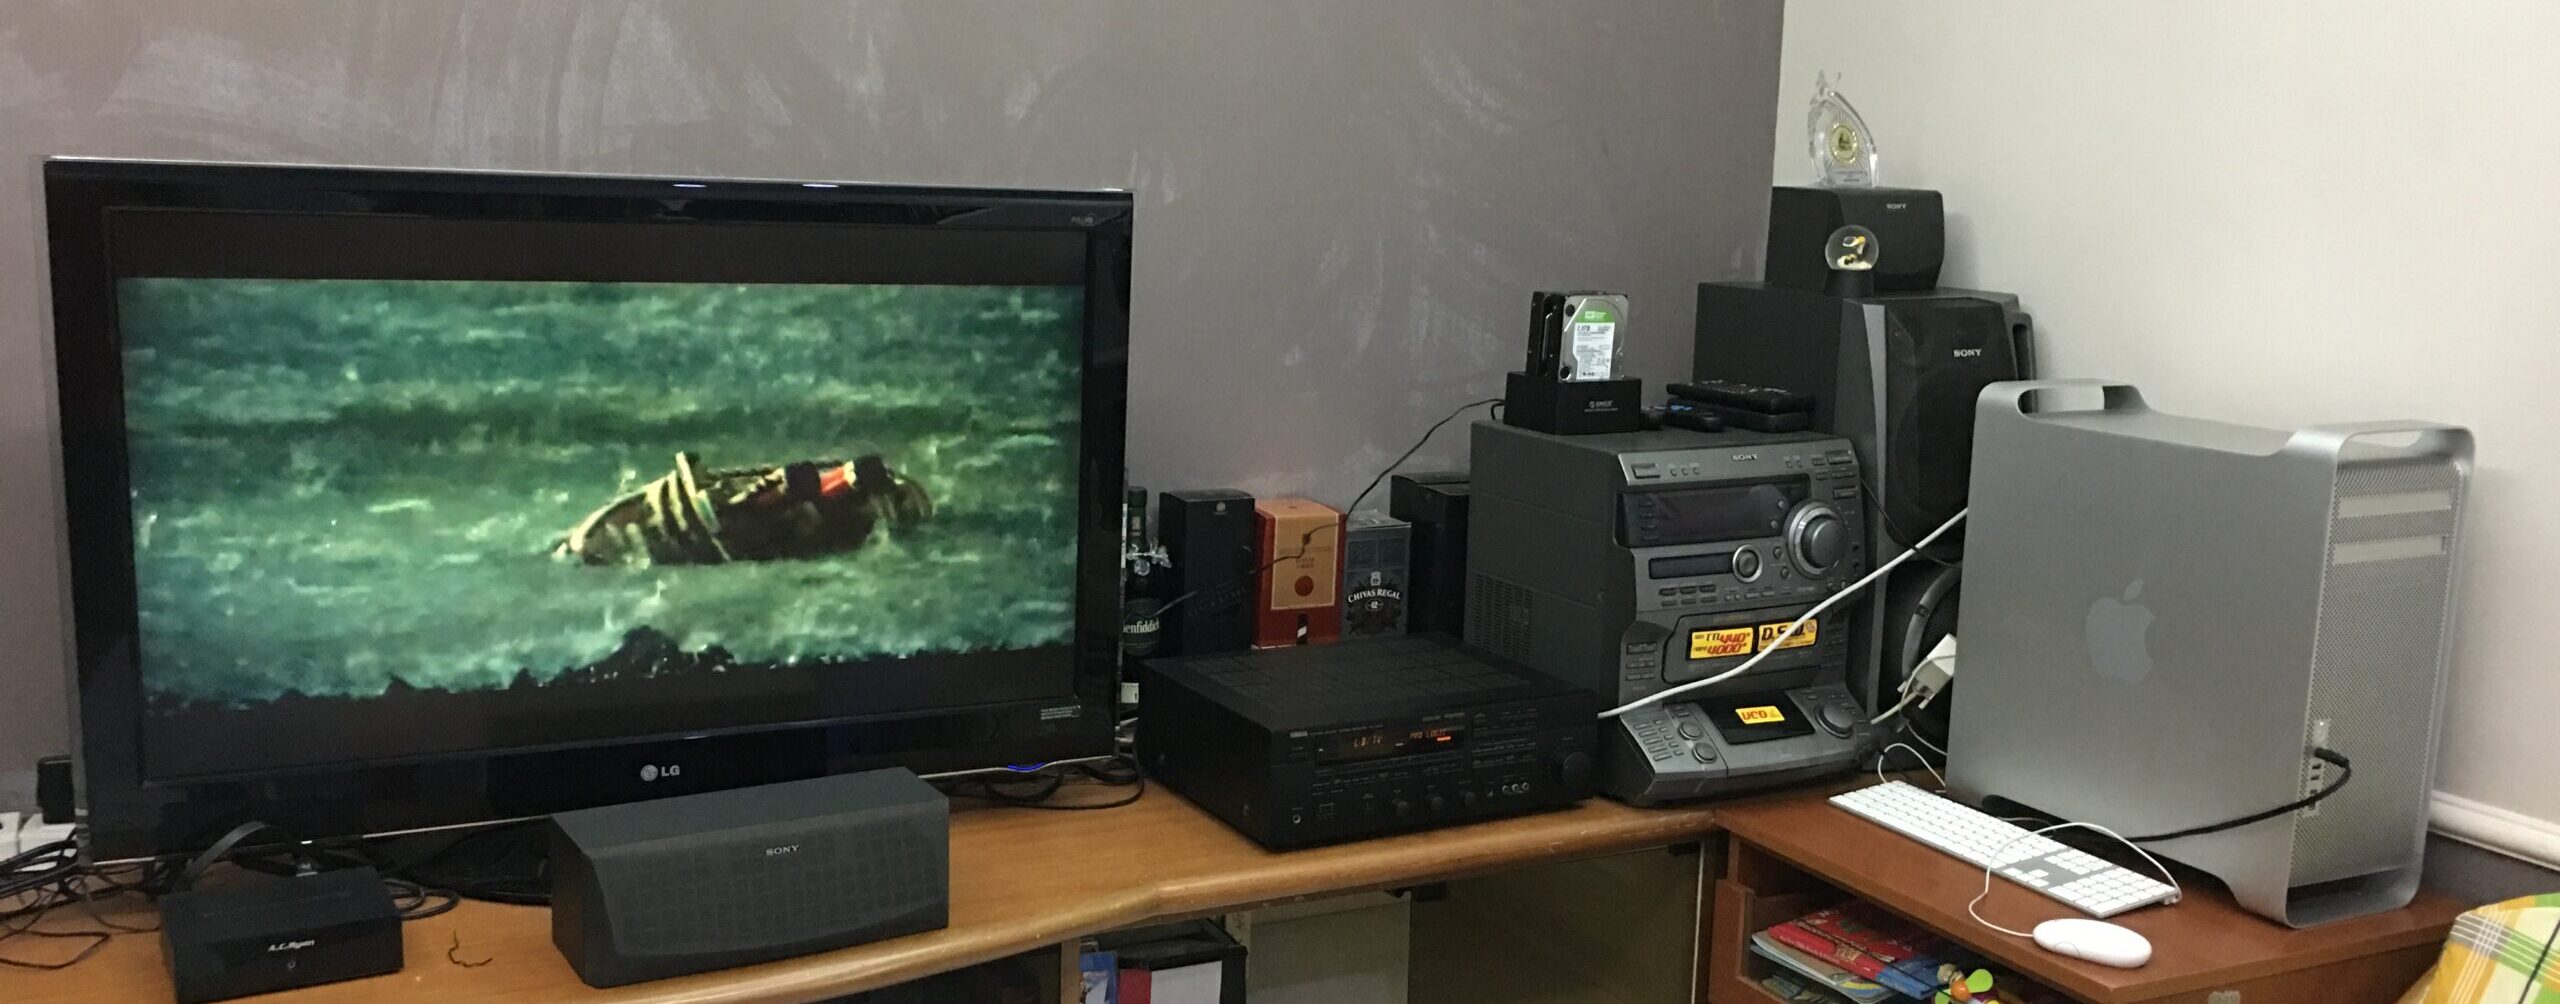
After update majorly for entertainment and kids zoom class.
Hopefully it can function another 10 year .. .. cheers.
———————————————————————————————————–

2.5 to 3.5 Inch SSD HDD Metal Bracket Hard Drive Holder x 4pcs – RM19.60 Shopee)
Waiting my bracket + SSD set as boot disk, planning install the harddisk under optical drive. Planning to try time machine back up / install window 10 / upgrade to high sierra .. etc. Hope can make some fun with Apple.


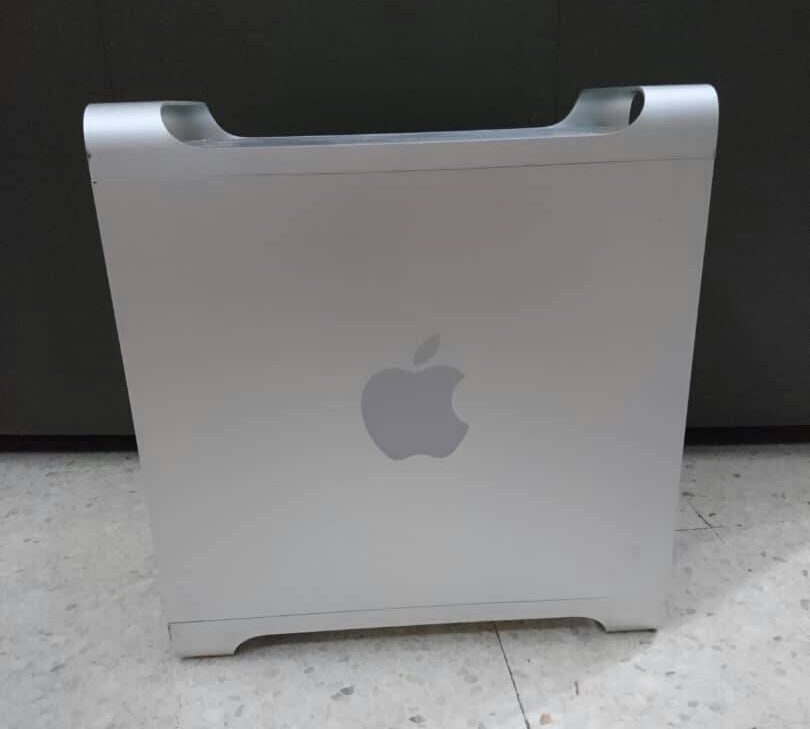

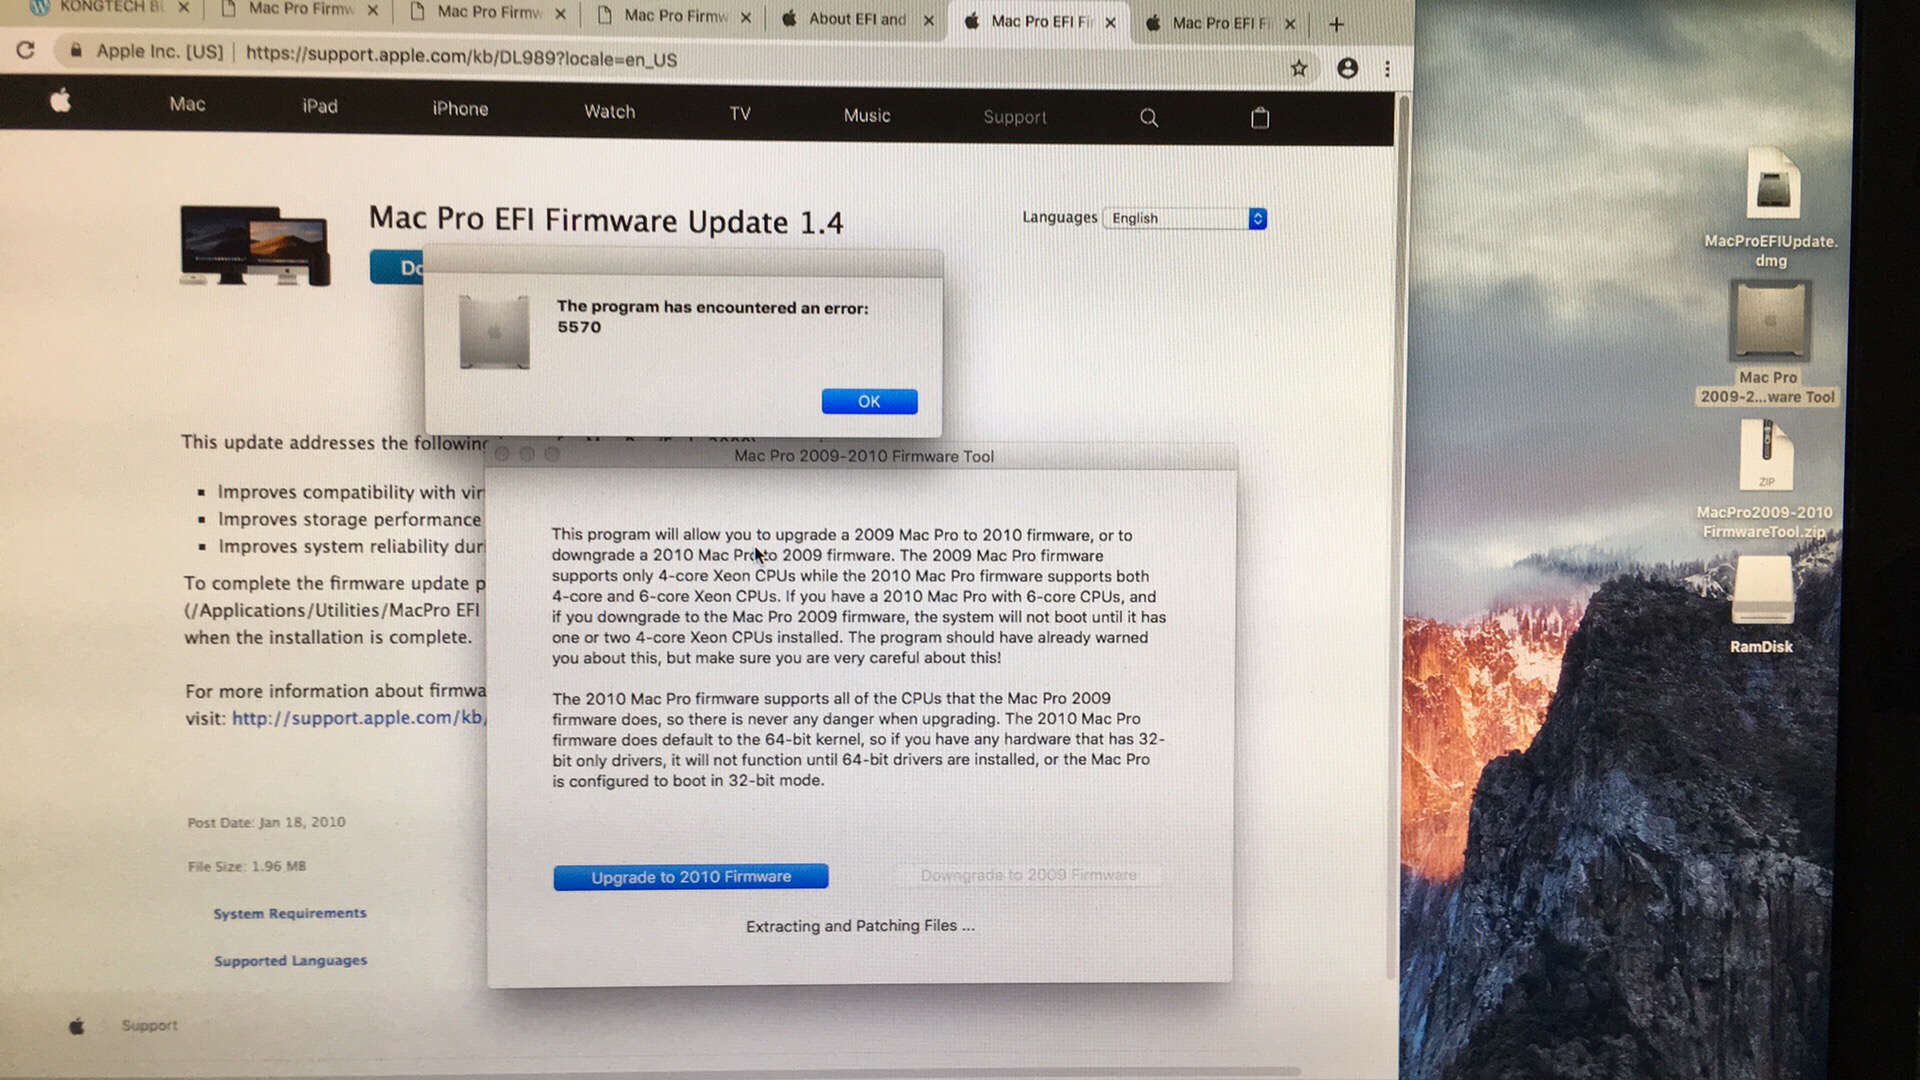
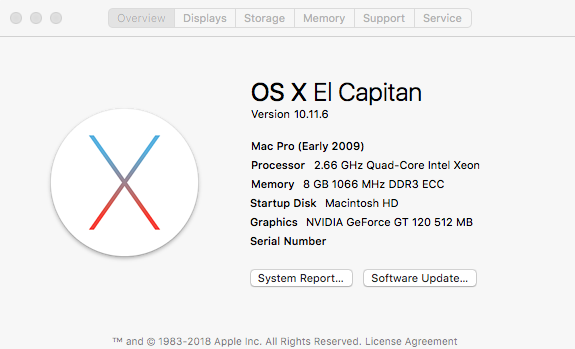
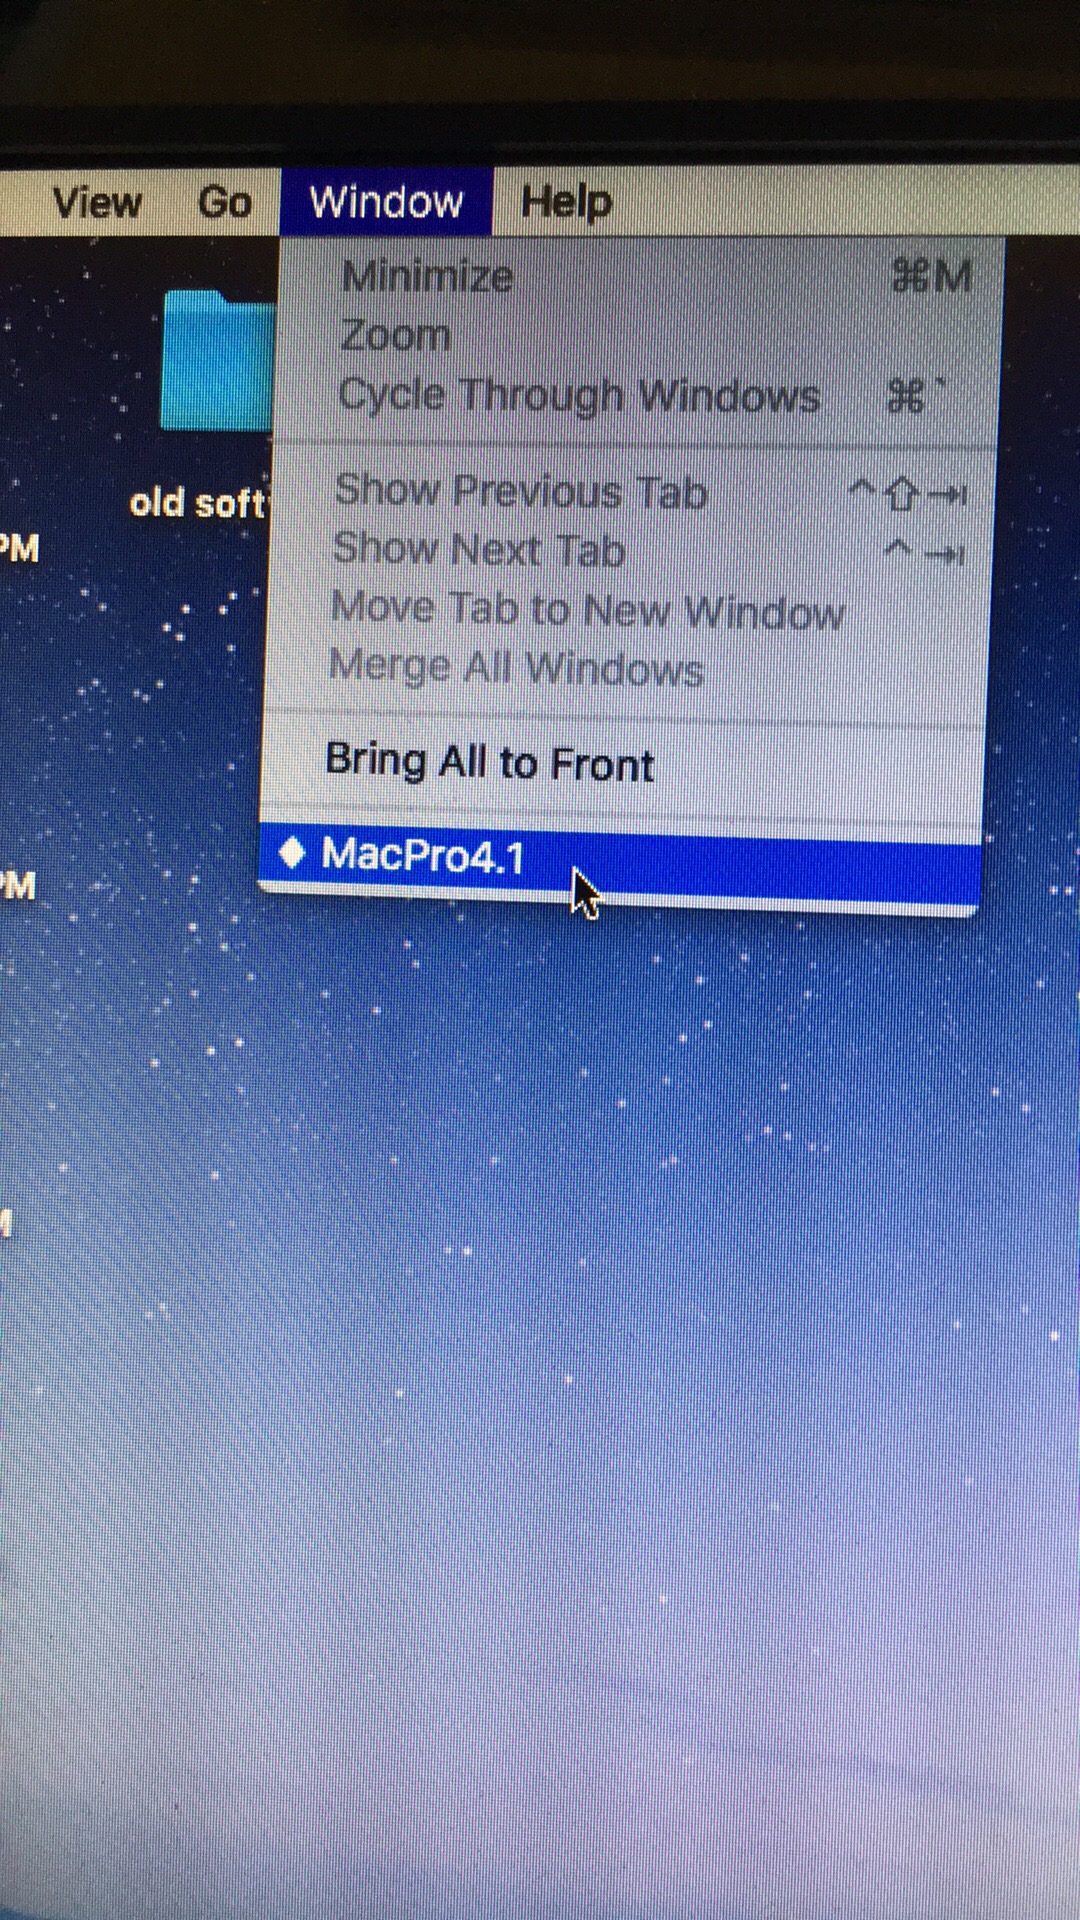
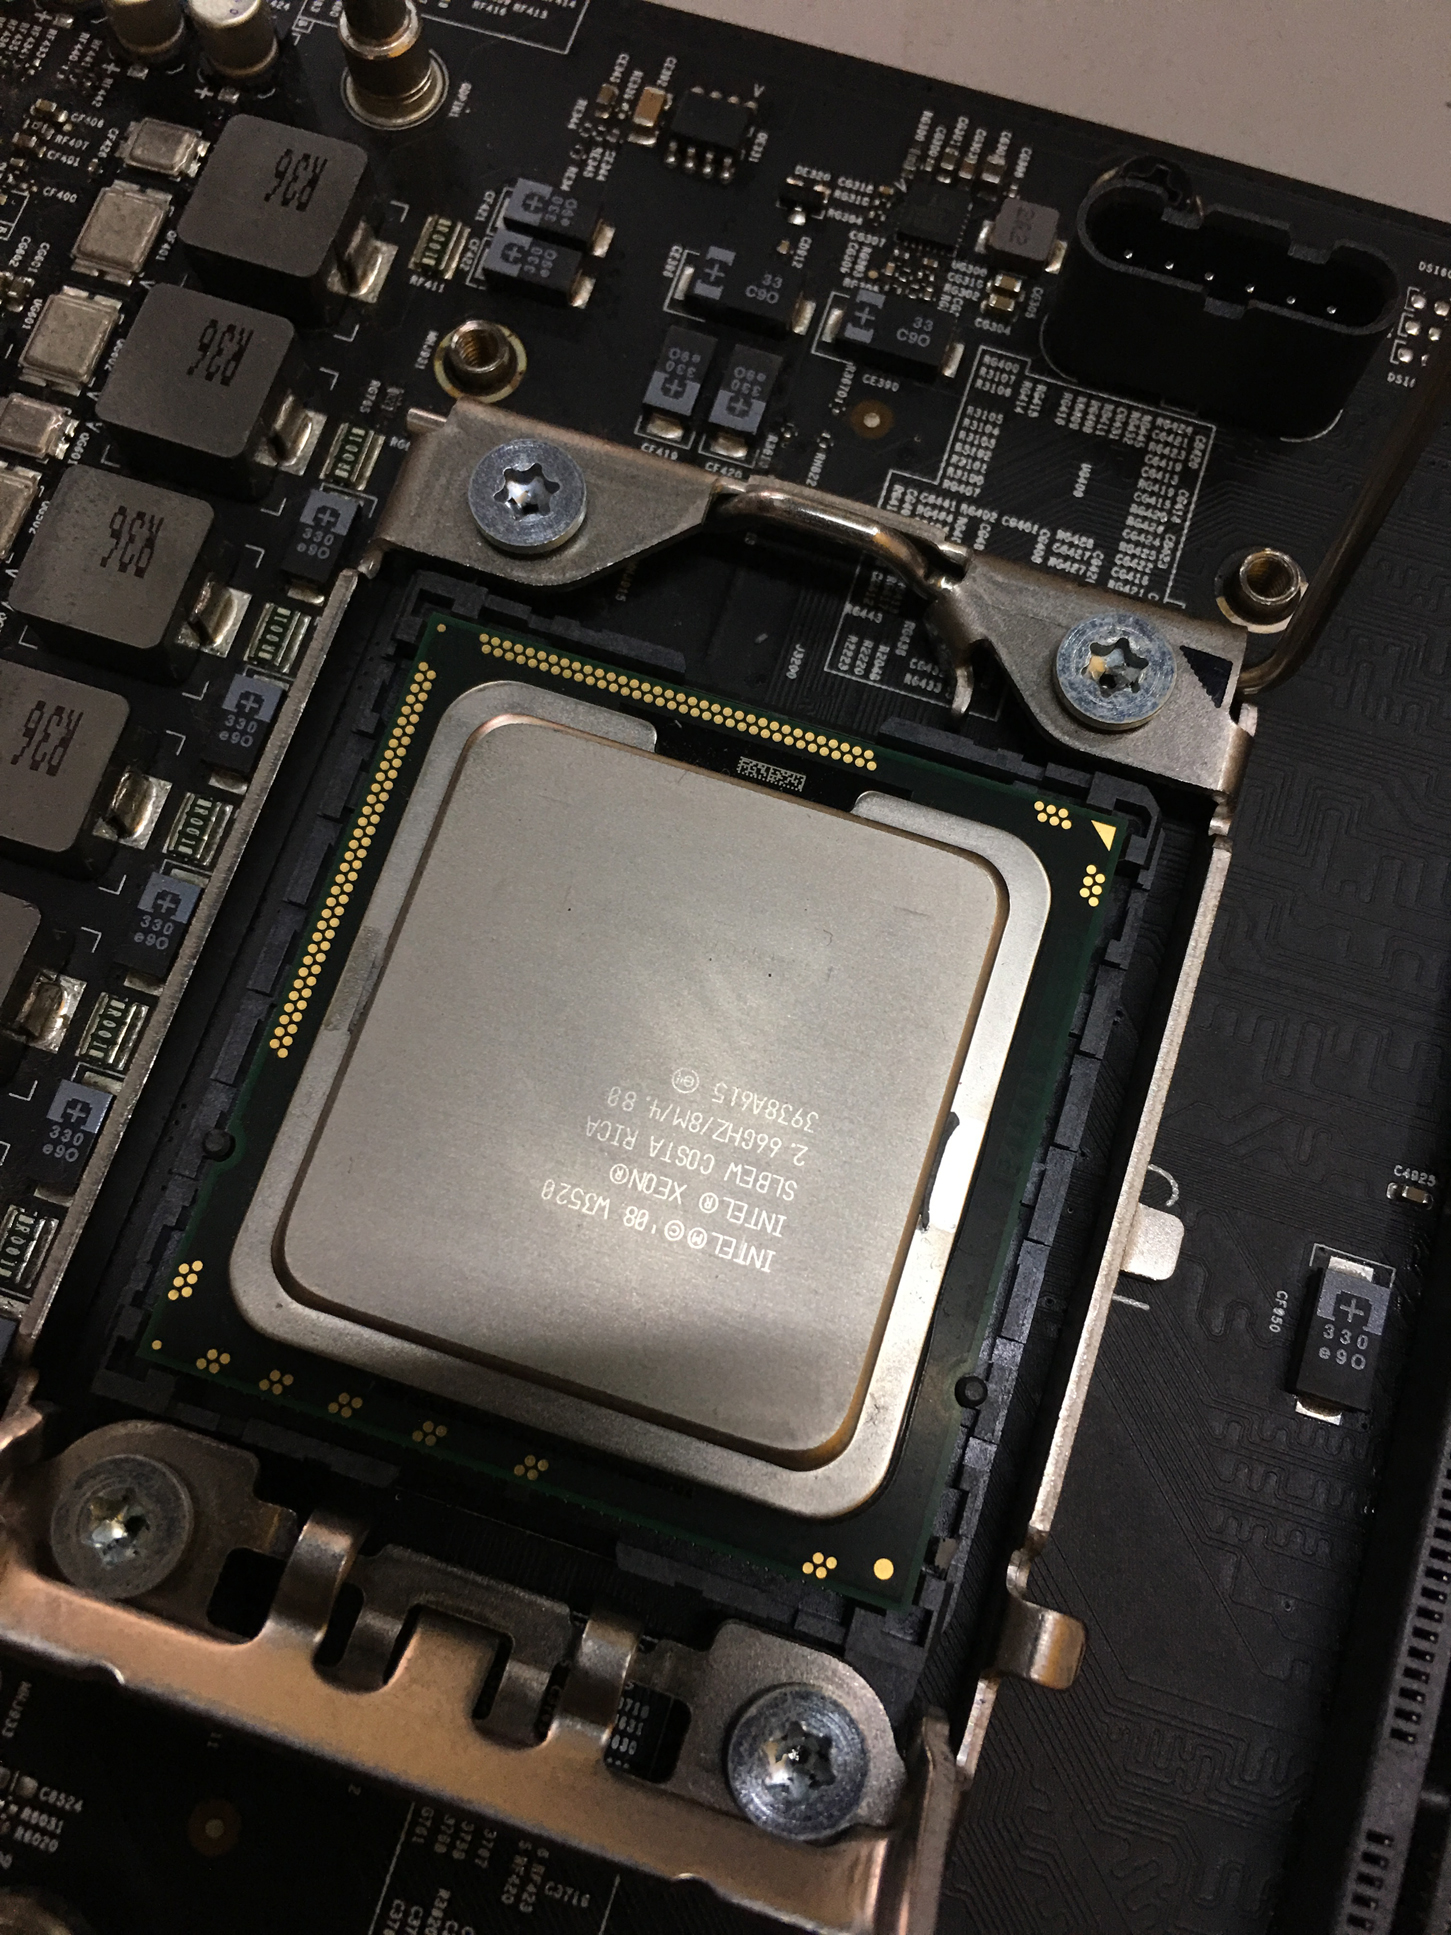
 After Upgrade and clean up i have to flash the firmware macpro 4,1 to 5,1